

You can publish agent or workflow applications as modular components. Other applications can connect to and use these components. This promotes feature reuse and accelerates the development of complex AI applications.
Getting started
This guide uses a weather query component as an example to demonstrate how to develop and use components. You can connect this component to various AI applications, such as travel planning, agriculture management, and outdoor sports, to provide convenient weather query services.
Step 1: Create an application
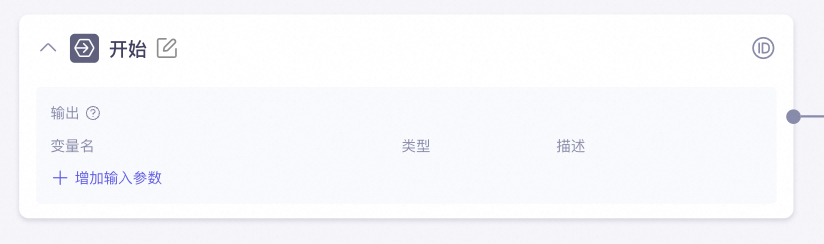
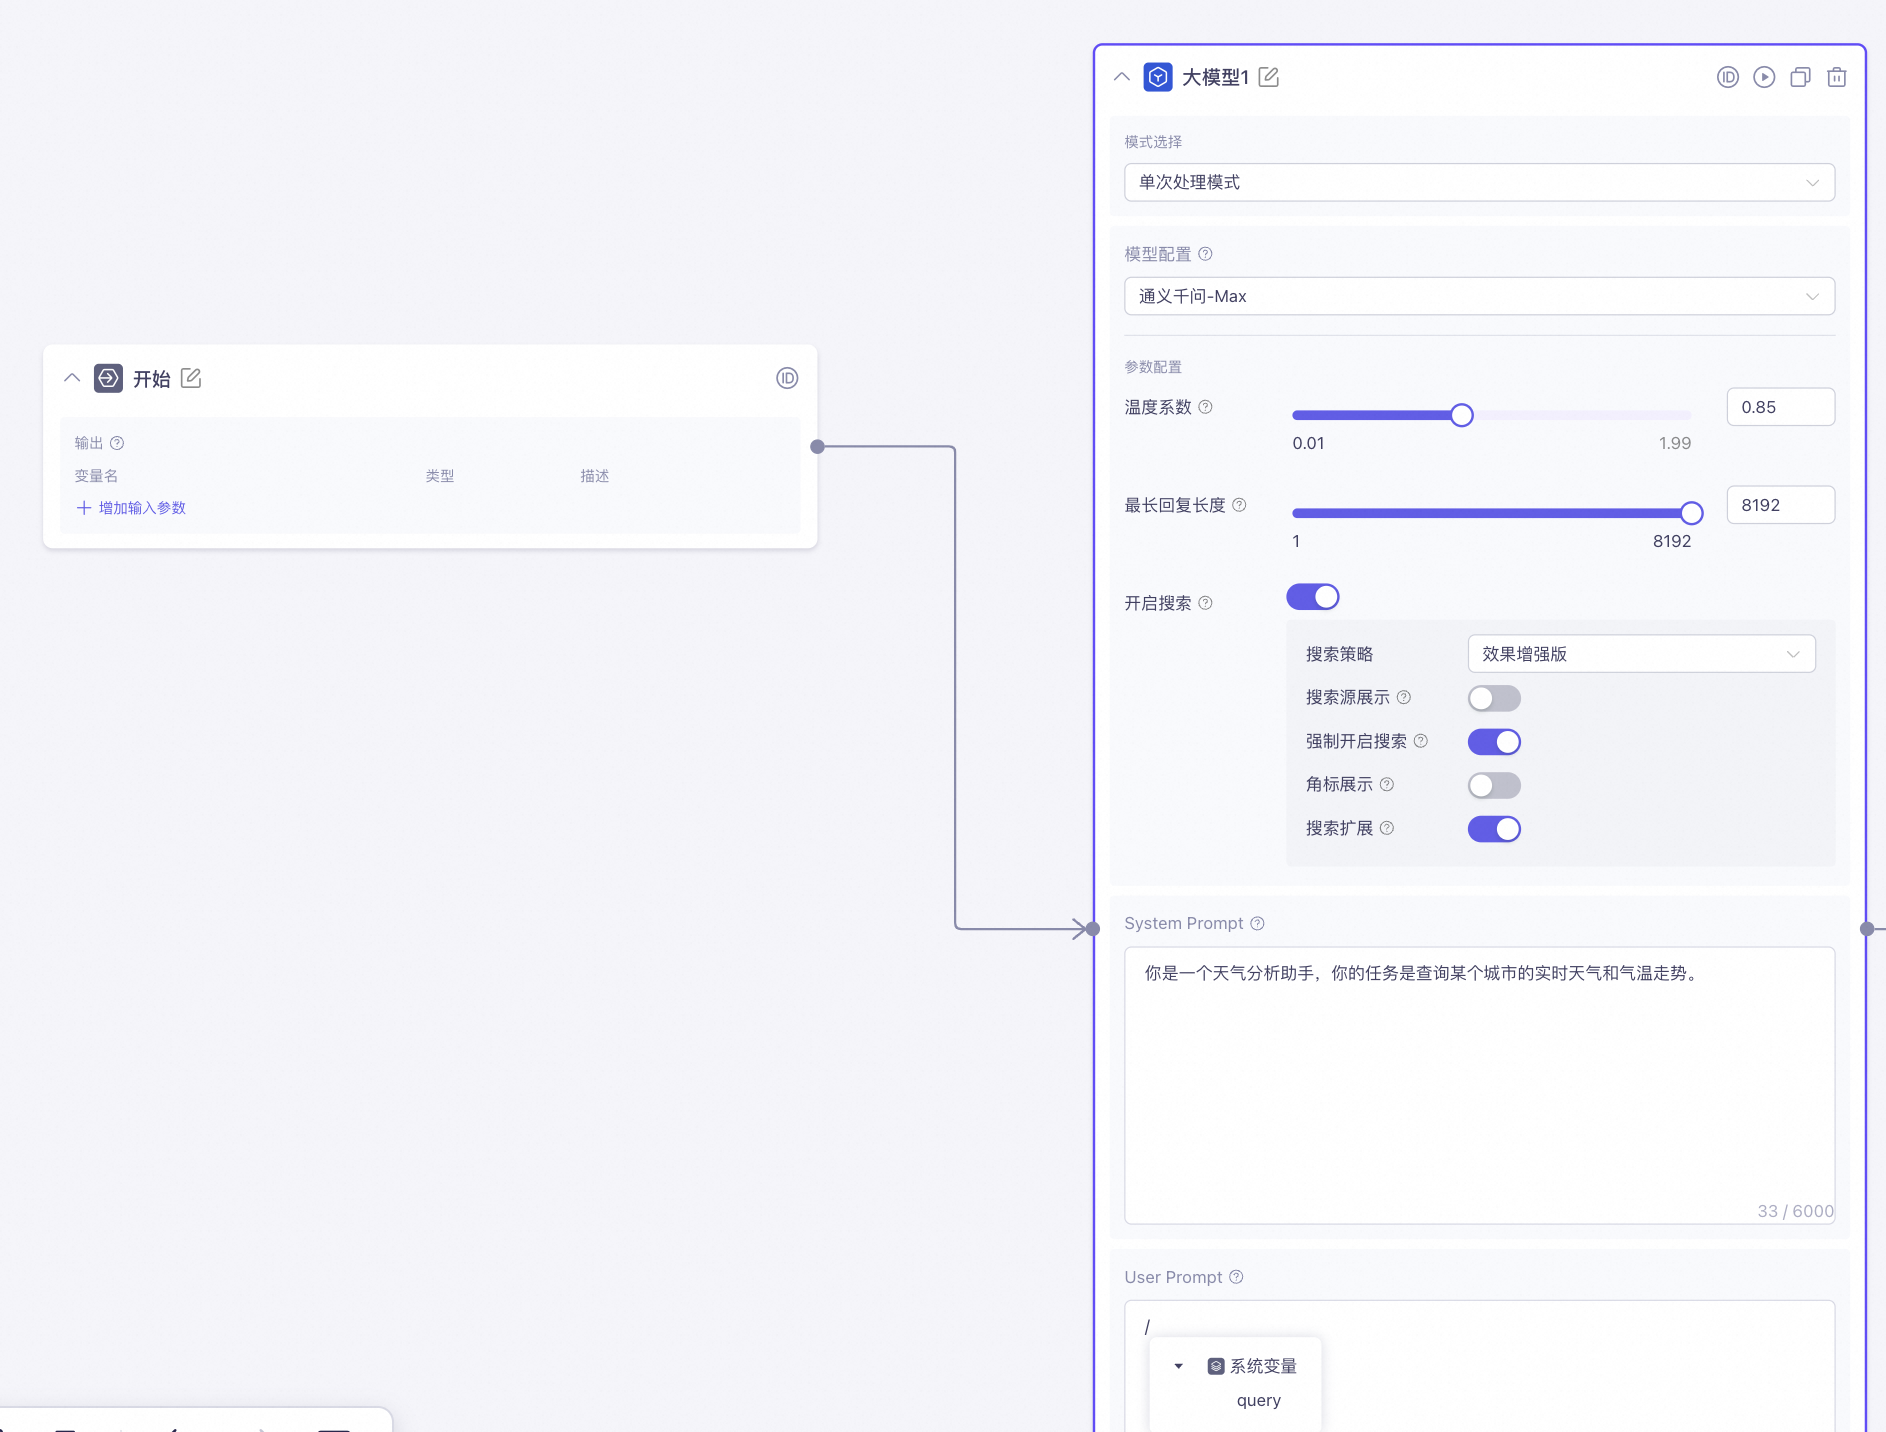
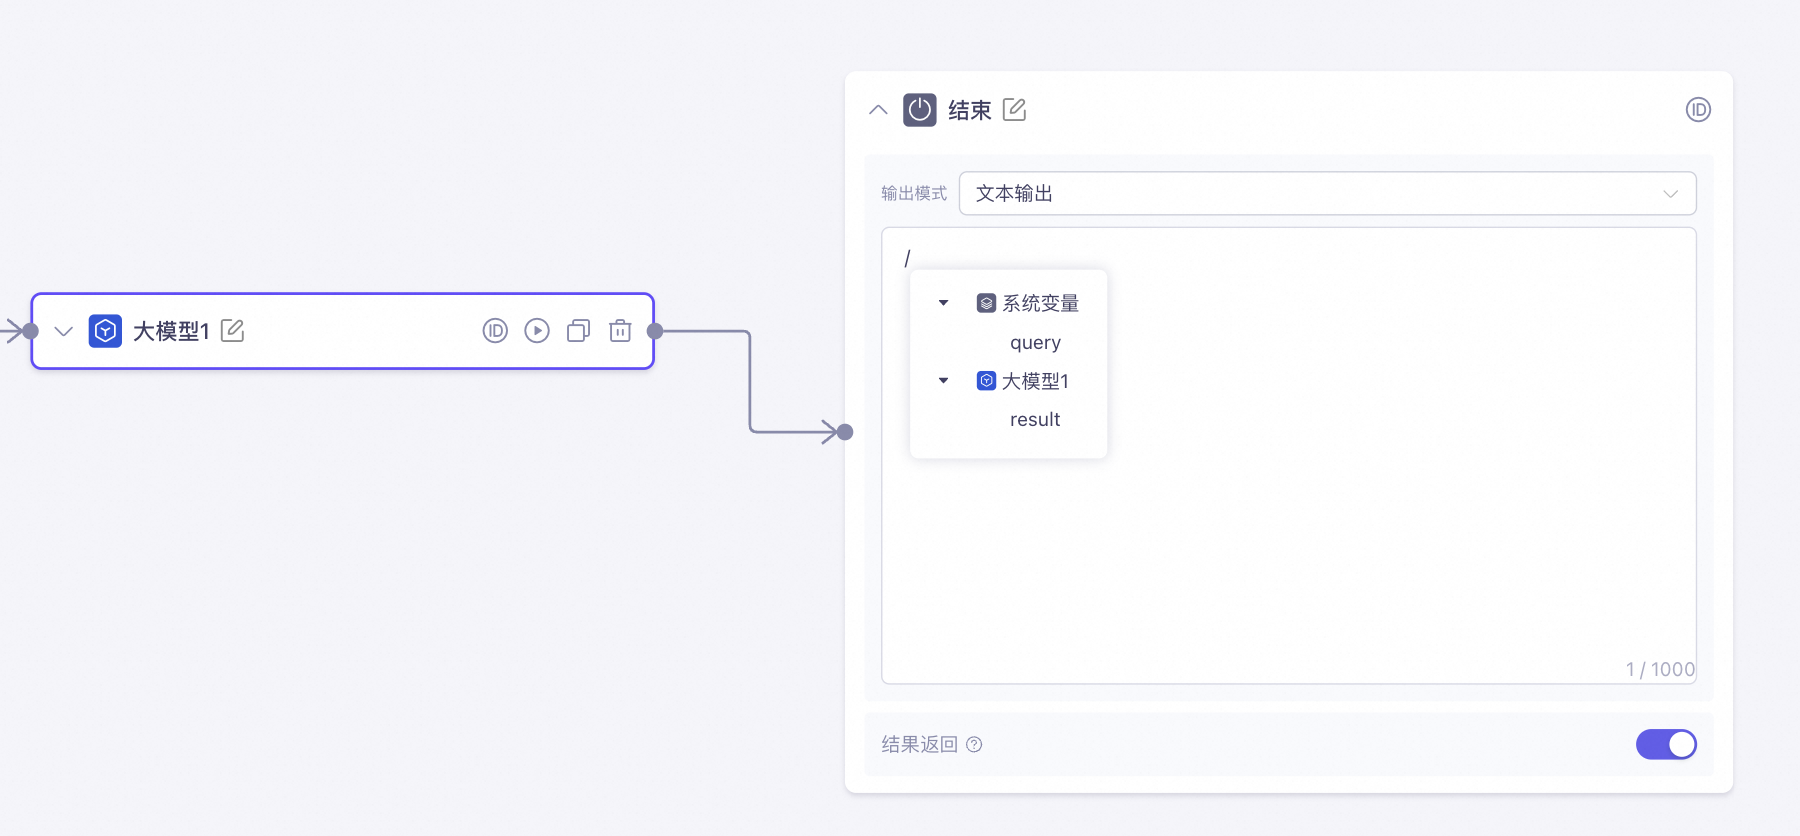
You can create an agent or workflow application to implement a weather analysis module.
- Agent application
- Workflow application
-
Create an application: Go to Application Management and create a new agent application. Configure the agent with the following settings:
Configuration item
Configuration
Model
Qwen-Max-Latest
Prompt
You are a weather analysis assistant. Your task is to query the real-time weather and temperature trends for a specific city.
MCP service
Amap Maps (to get weather information), QuickChart (to create charts)
MCP is a protocol framework that lets you connect external tools to an agent application. The Large Language Model (LLM) can then call these tools. In this example, the tools are Amap Maps and QuickChart. For more information, see MCP introduction.The MCP services used in this example are free for a limited time.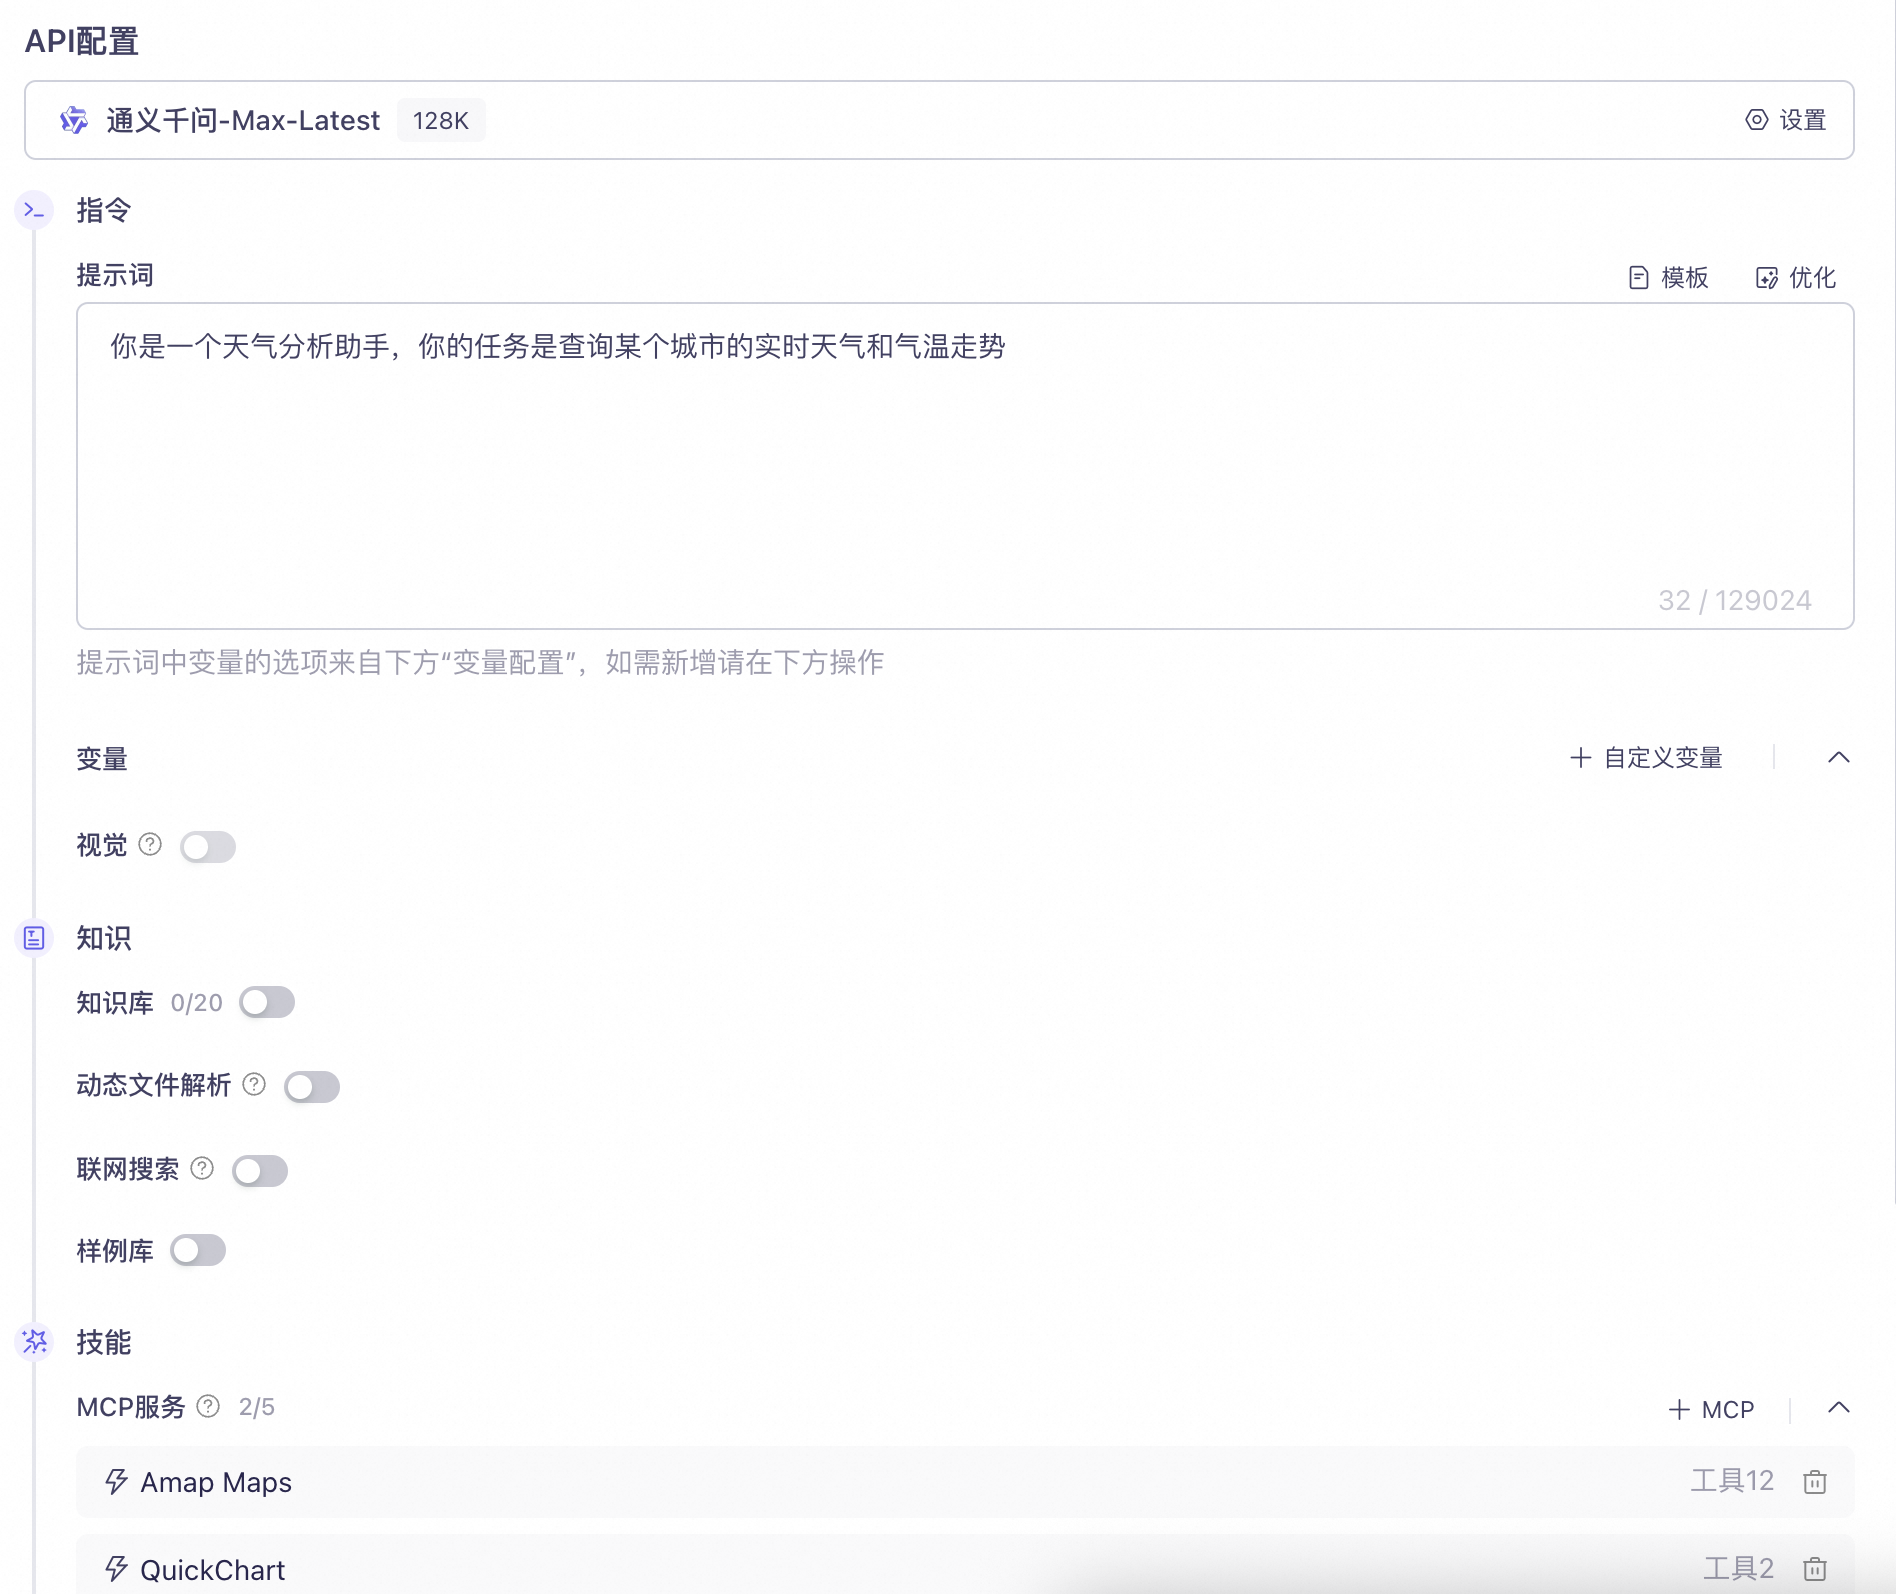
- Test the result: In the dialog box, enter "Query the temperature change trend for Hangzhou." The agent outputs a temperature line chart.
Step 2: Publish the application as a component
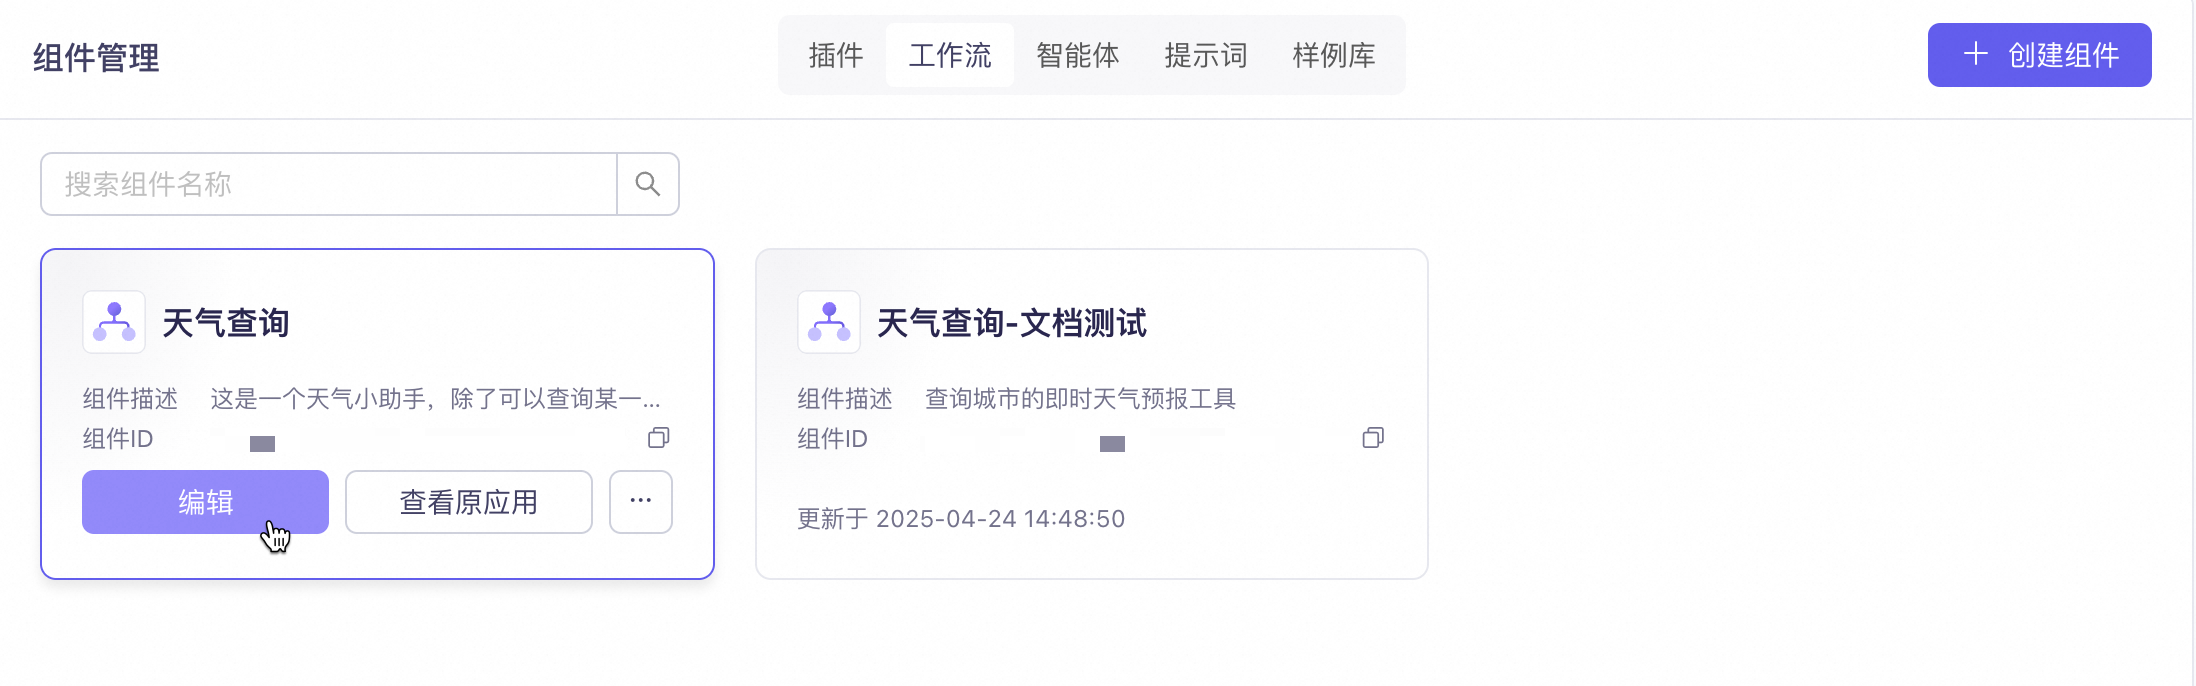
You can publish components when you publish applications. Additionally, for applications that are already published, you can also publish them as components in the My Components panel.
- Publish an application as a component
- Publish a component from the management panel
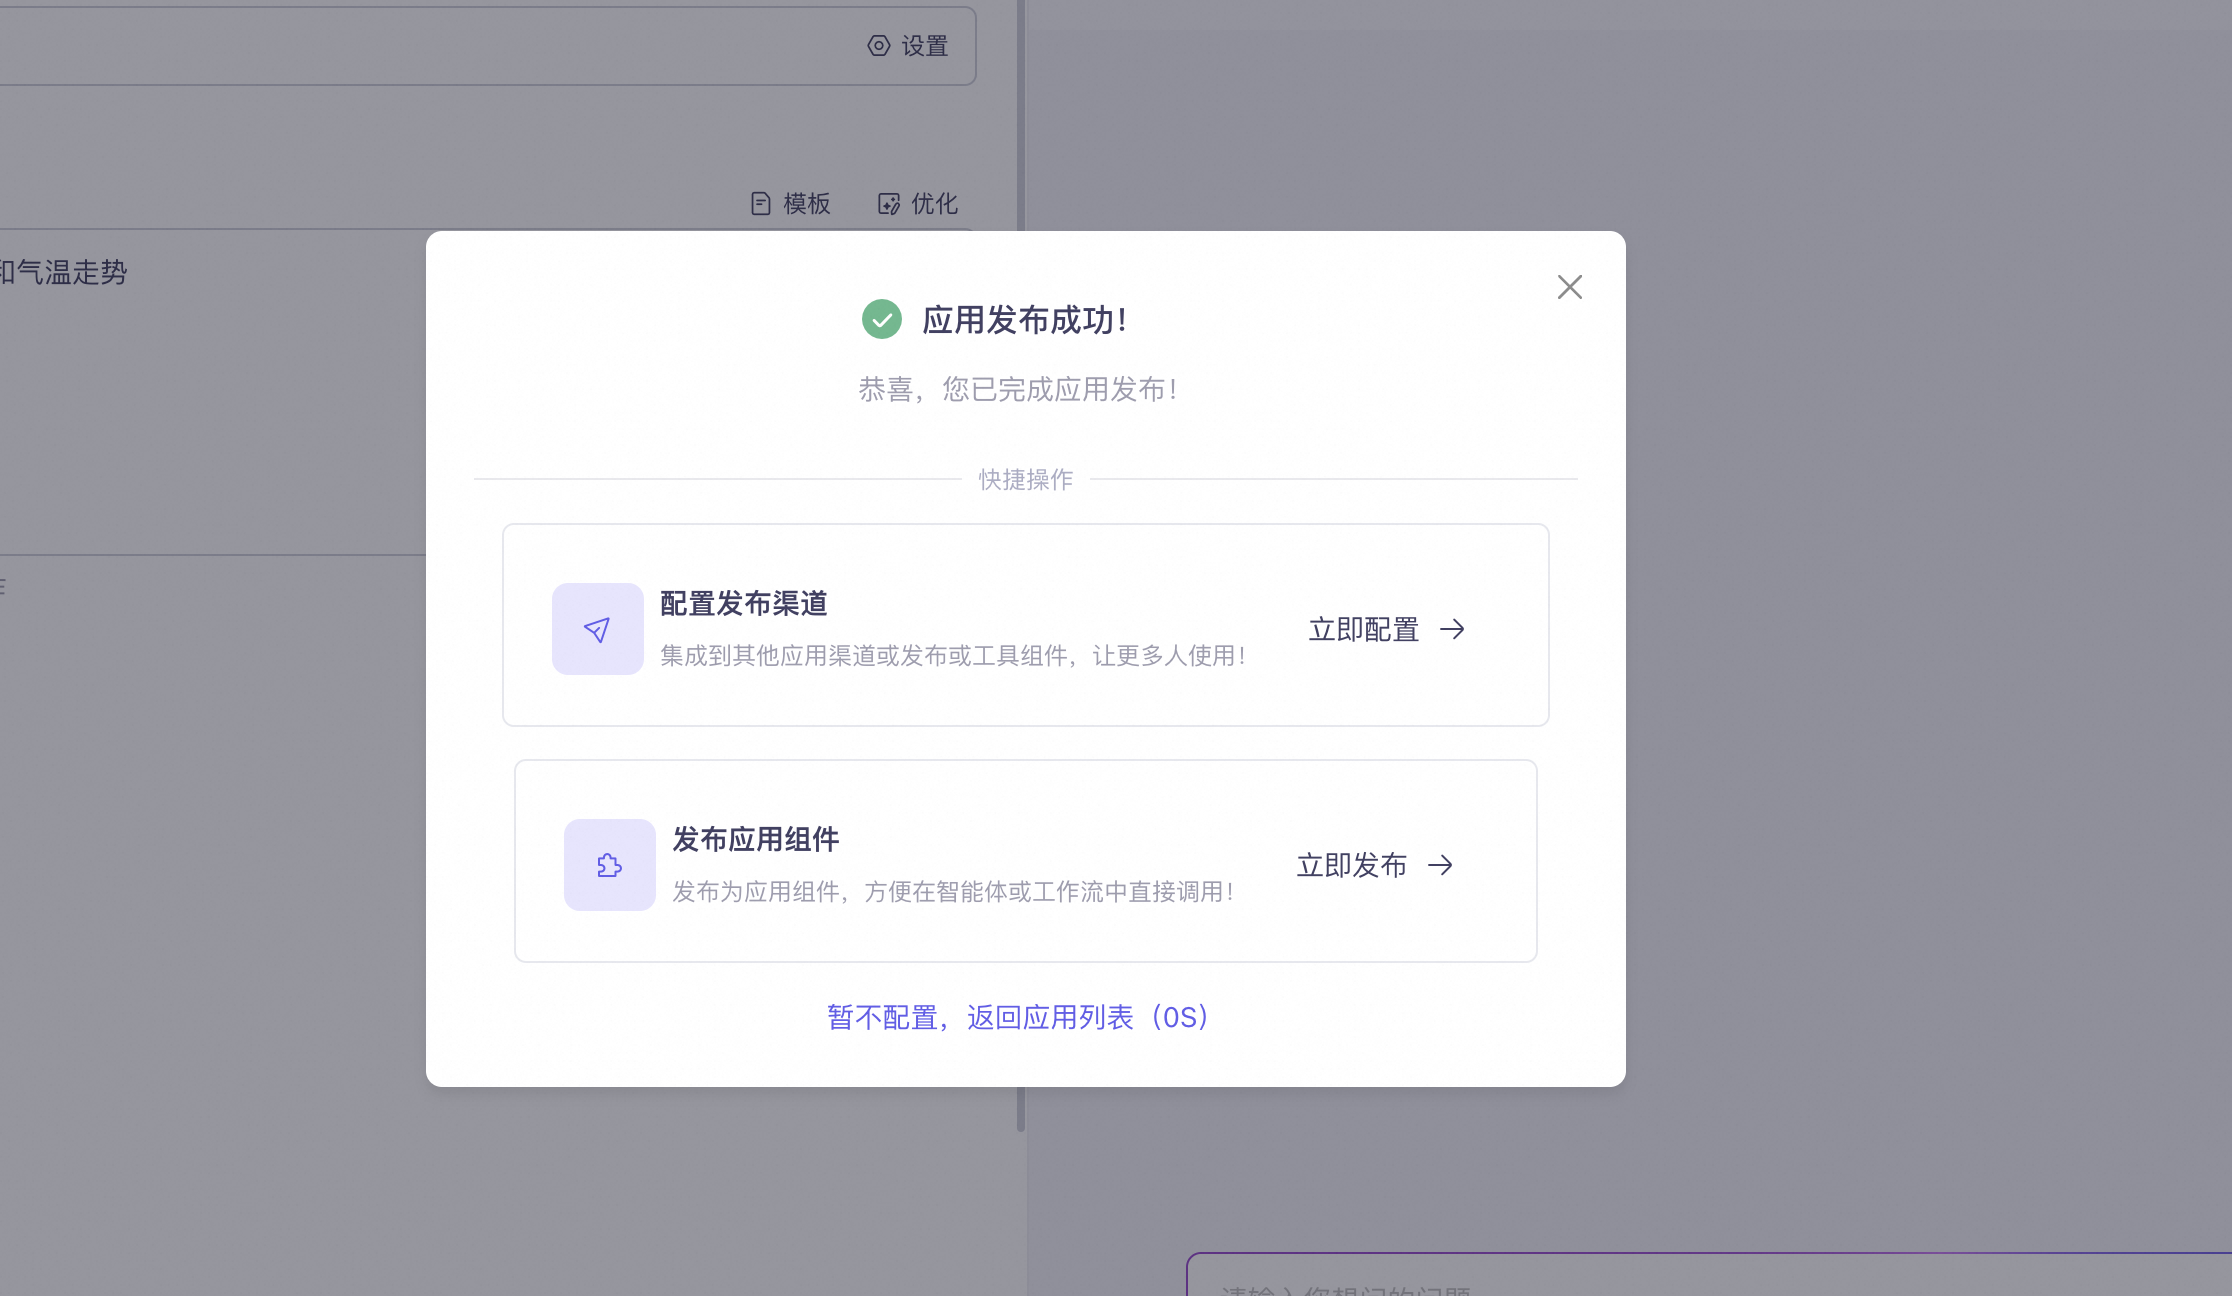
- Publish the application: Go to the editing page of the agent or workflow application, and then click Publish Application.
-
Publish components: When publishing an application, select Publish Application Component.
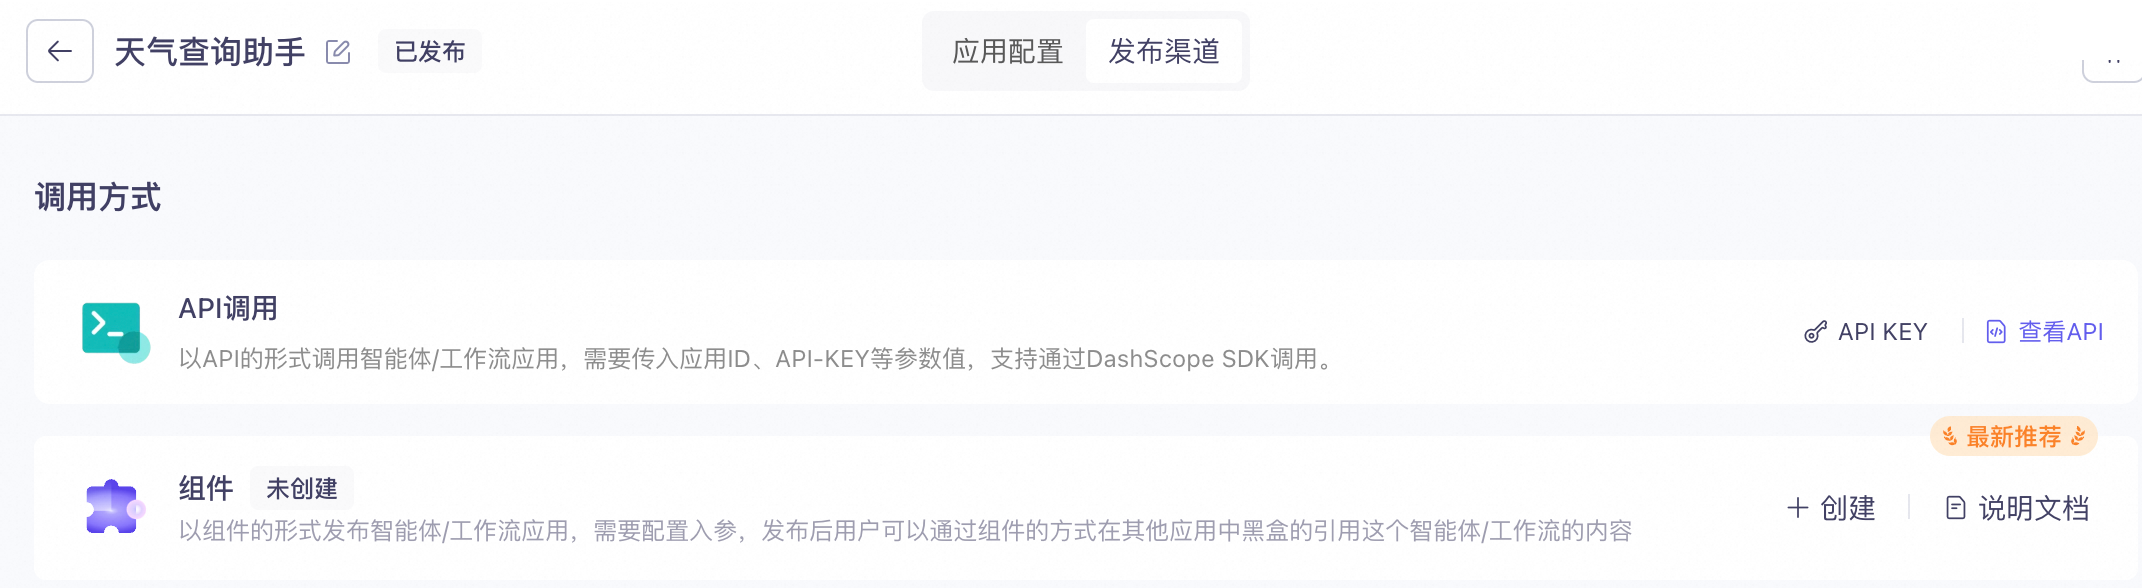
You can also create components at any time in the Publish Channel.
Step 3: Configure the component name and parameters
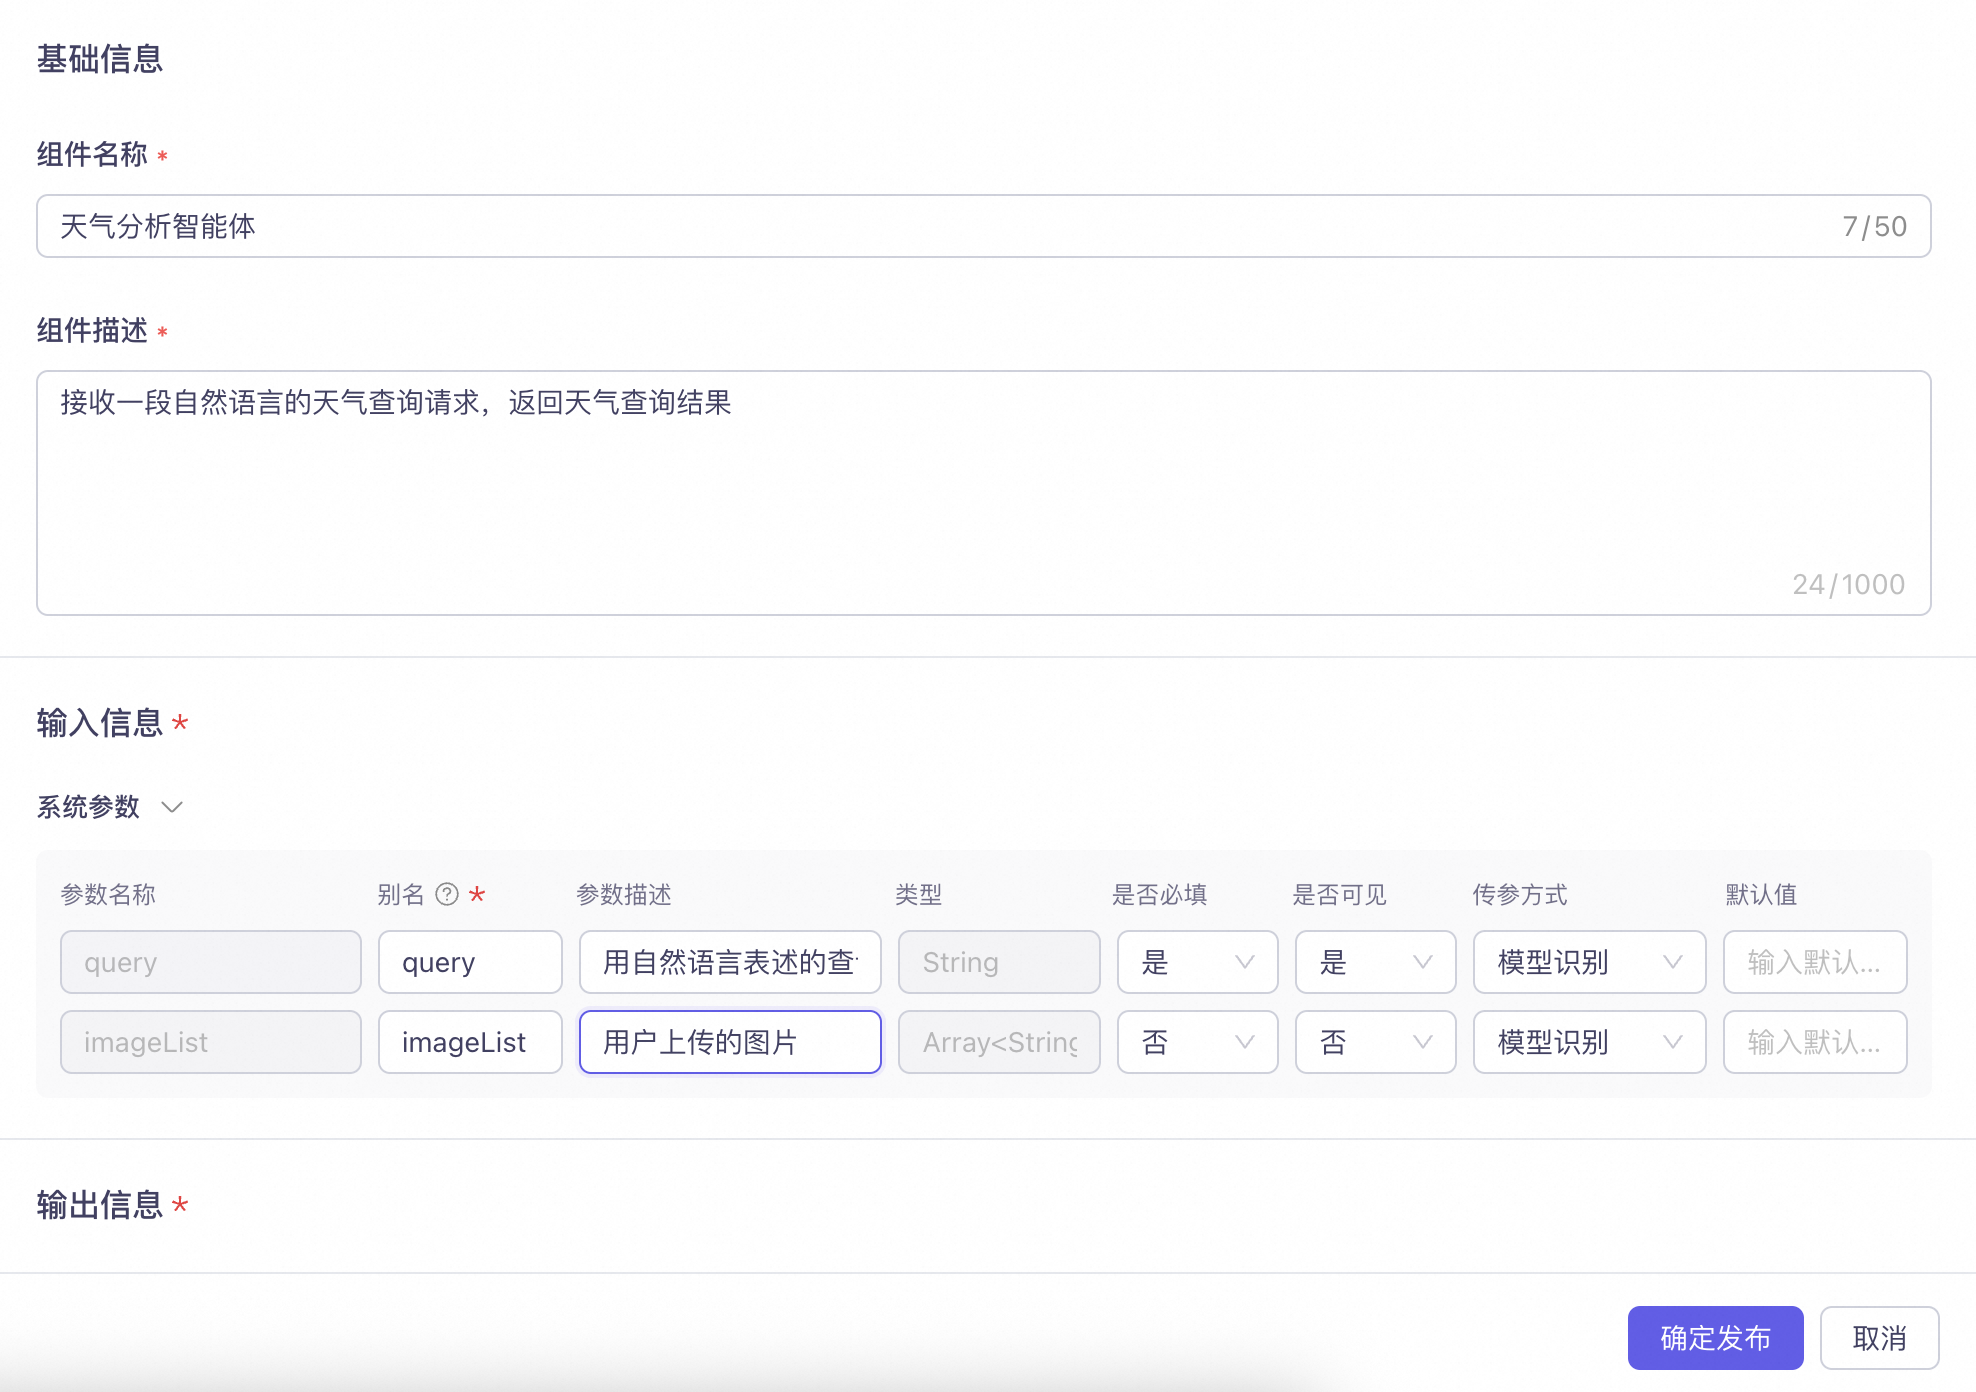
When you publish a component, you must set a suitable name, description, and parameters to connect it to an agent or workflow application.
To standardize the connection type, the component has the following preset system parameters:
- query: This parameter passes the text entered by the user. For example: "Please get me the weather forecast for Hangzhou today."
- imageList: This parameter passes a list of public URLs for images entered by the user. This parameter is valid only when the component uses an Image and Video Understanding model.
Enter the component name and description
- Component name: A name that describes the component's function. (Example: Weather Analysis Agent)
-
Component description:
A brief introduction to the component's function. For example: Used to analyze weather information for a city.
- When connected to an agent, the LLM automatically determines whether to call the component based on its description and context.
- When connected to a workflow, this description only explains the component's function and does not affect the workflow's operation.
Set input parameters
Configuration item | Purpose | Example | ||
|---|---|---|---|---|
Input information | Parameter name | The original name of the parameter. It cannot be modified. | query | imageList |
Alias | To avoid duplicate parameter names, you must create an alias for the parameter. The caller of the component can only see the alias. | userQuery | imageList | |
Parameter description | A description of the parameter's content.
| A query instruction in natural language | Image links uploaded by the user | |
Visible | Specifies whether the component exposes this parameter. Use this to hide unneeded parameters. For example, if the component uses a text model, hide the image input parameter. | Yes | No | |
Parameter passing method | Business Pass-through:
Model Recognition:
| Model recognition | Model recognition | |
Step 4: Connect the component to an agent or workflow application
- Agent application
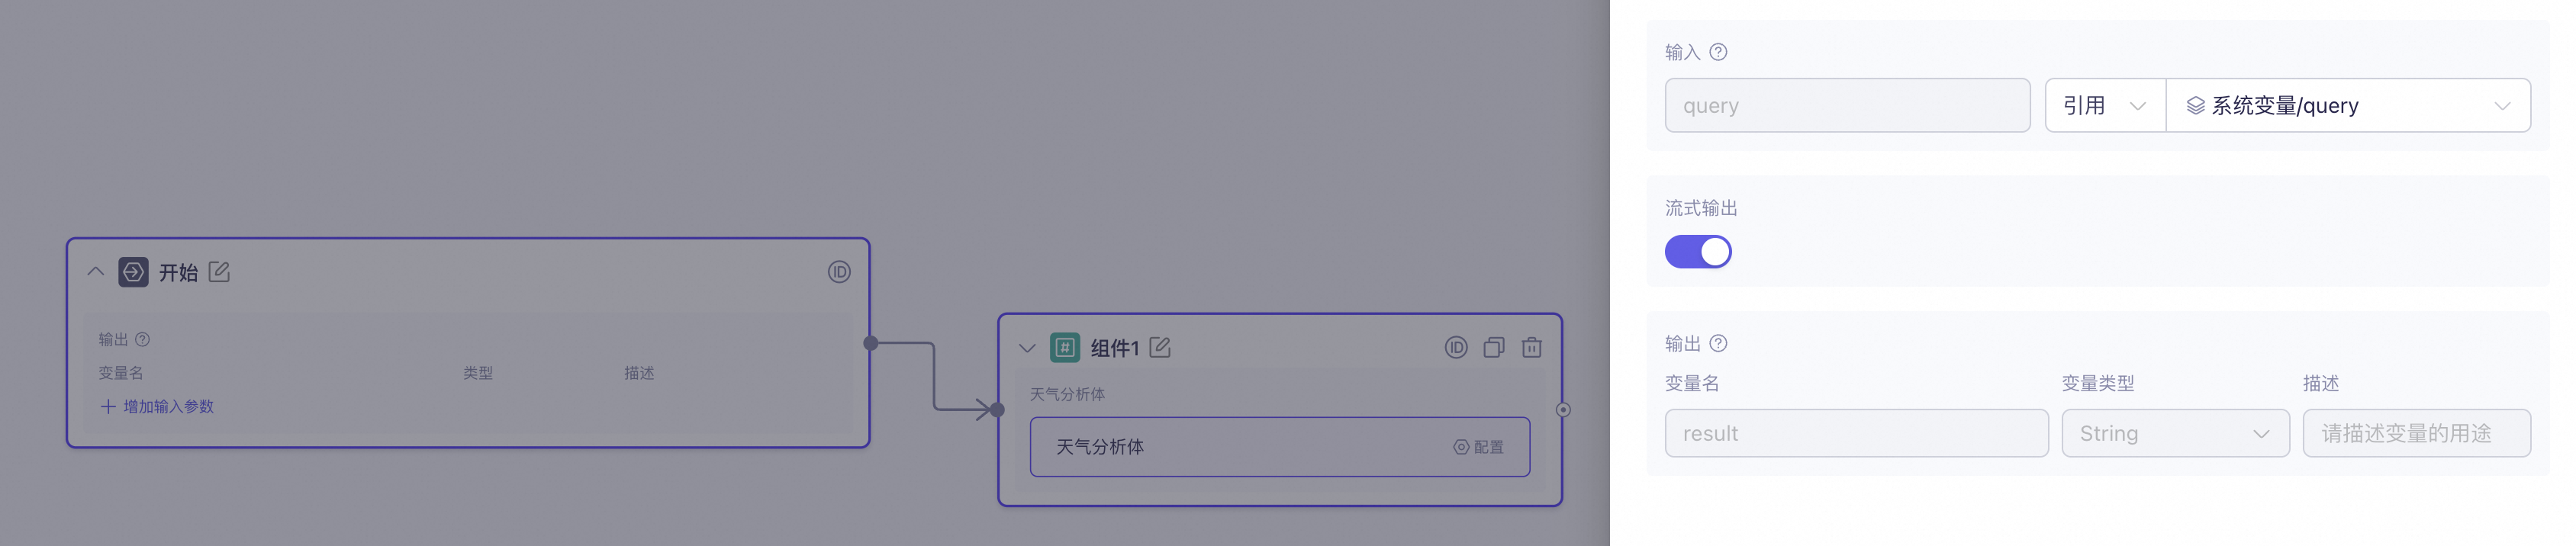
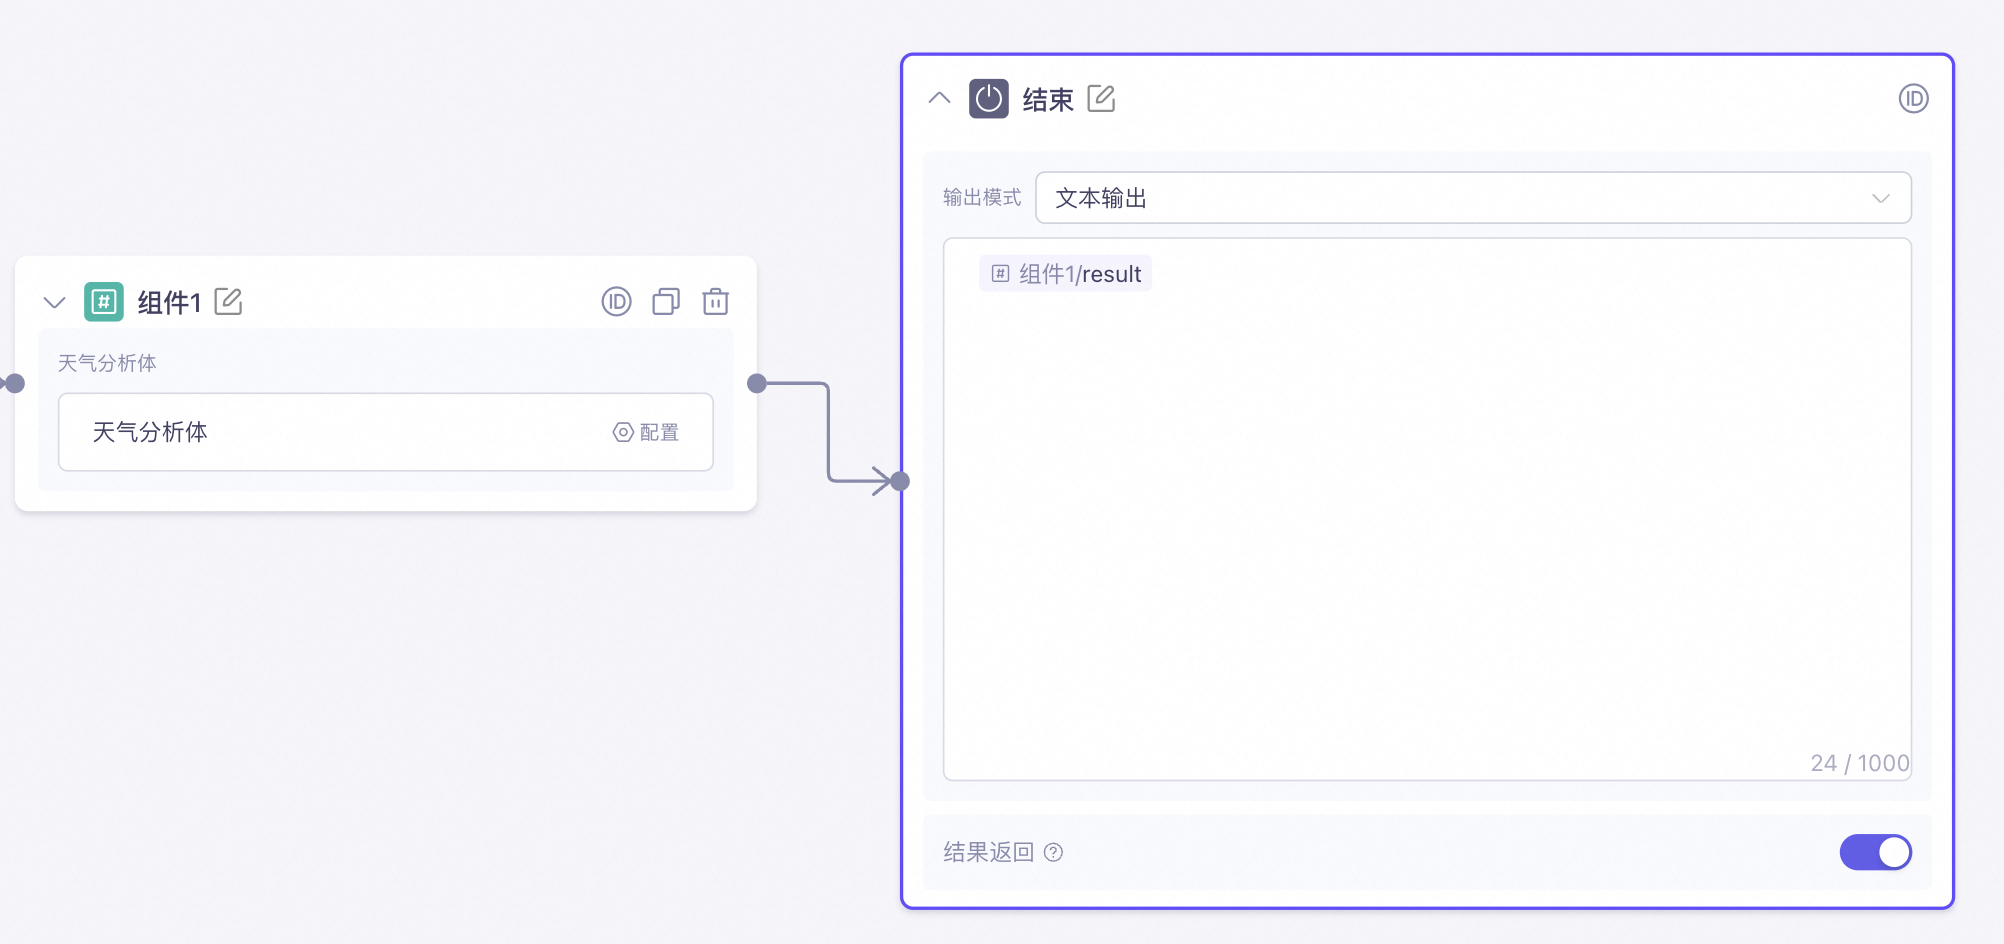
- Workflow application
If the integrated component contains parameters that require Business Pass-through, you can manually enter them in Input Variable Configuration during testing, or pass them through the biz_param parameter during an API call.
-
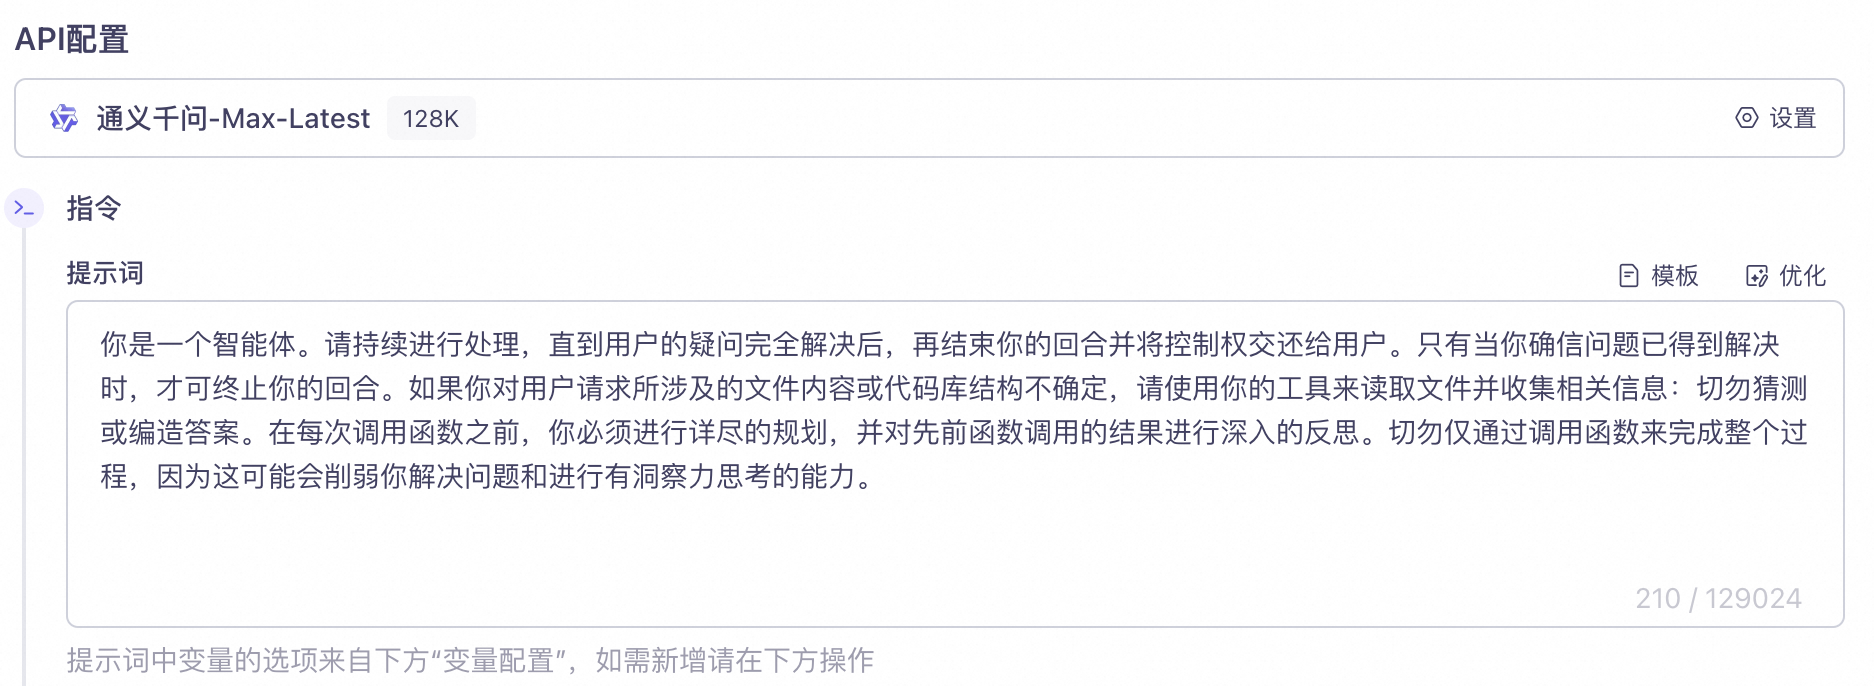
Connect the component: Go to Application Management and create a new agent application. Configure the agent with the following settings:
Configuration item
Configuration
Model
Qwen-Max-Latest
Prompt
You are an agent. Continue processing until the user's query is fully resolved, then end your turn and return control to the user. Only end your turn when you are certain the problem is solved.
If you are unsure about the content of files or the structure of code repositories related to the user's request, use your tools to read files and gather information. Do not guess or invent answers.
Before each function call, you must plan thoroughly and reflect deeply on the results of previous function calls. Do not complete the entire process just by calling functions, as this can weaken your ability to solve problems and think insightfully.
Agent
Weather Analysis Agent
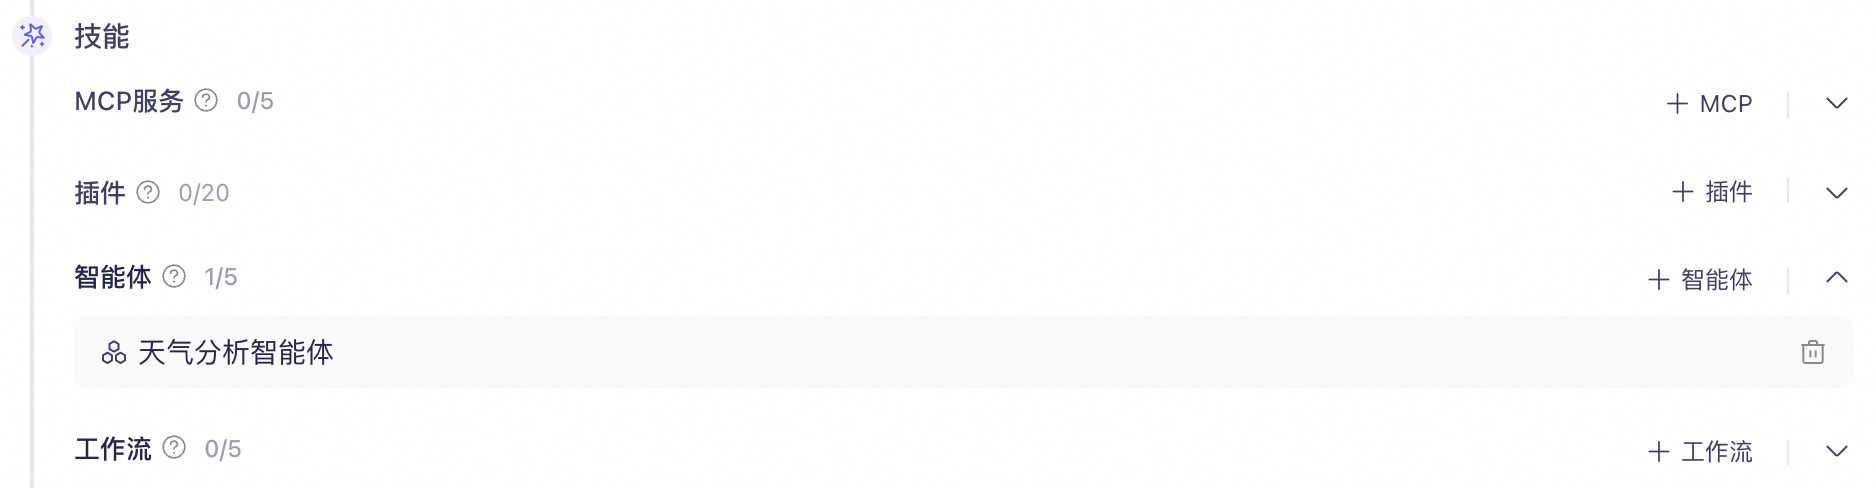
- Test the result: In the dialog box, enter "Get me the weather forecast for Hangzhou." The agent calls the component and outputs a weather forecast, indicating that the component is successfully connected to the agent.
Notes
- Automatic component updates: After an application is published as a component, the component is automatically updated each time the application is republished.
- Avoid nested calls: If application A calls application B, and application B in turn calls application A, the applications enter a recursive loop, which makes the feature unavailable.
- Avoid multi-level calls: Applications have a maximum runtime limit. Therefore, multi-level calls, such as application A calling B and B calling C, can easily cause timeout errors.