To meet more diverse orchestration needs, the flow orchestration feature has been upgraded to workflow applications and agent orchestration applications. The flow orchestration feature will be gradually deprecated. This change does not affect existing users. You can continue to use the flow orchestration feature or switch to workflow applications or agent orchestration applications for an improved experience. For more information, see Workflow applications and Agent orchestration applications. Definition
Flow orchestration is a visual development tool for developers. It supports nodes such as Large Language Model (LLM), API, and script nodes. The tool simplifies the integration of LLMs and provides full lifecycle management for application flows, including orchestration, testing, and deployment. It offers a comprehensive service for developers to build custom AI applications.
Node types
The platform supports basic, model, reference, and function programming nodes. For a description of each node, see the following documents:
Start node instructions;
LLM node instructions;
API call node instructions;
Script node instructions;
Function Compute node instructions;
Condition node instructions;
End node instructions;
How to associate parameters
In flow orchestration, you must explicitly declare the input and output parameters for the flow. Intermediate steps may also require you to associate variables or intermediate results. For example, a subsequent node might use the result of a preceding node as an input parameter. This section describes how to declare and reference variables.
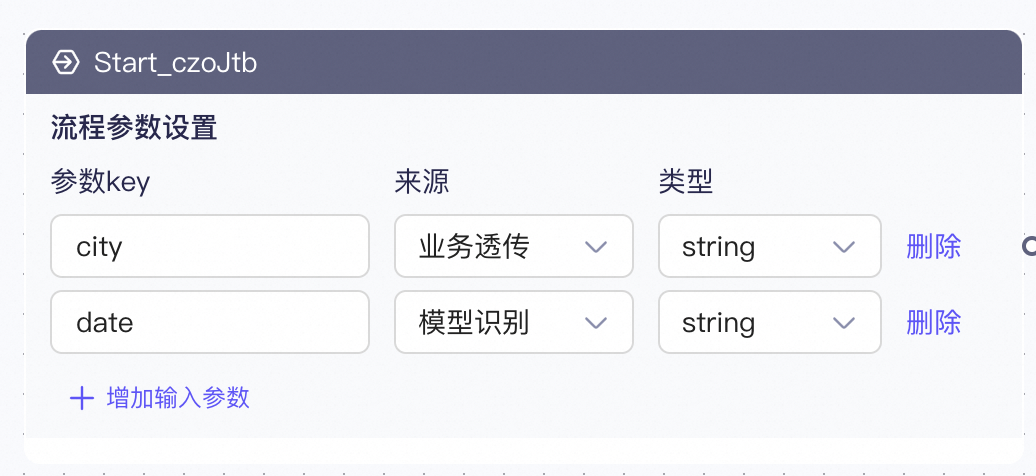
The following figure shows an example of declaring input parameters in the Start node.
For a description of the Business Pass-through and Model Detection sources, see the Start node instructions.
2. Declare output parameters
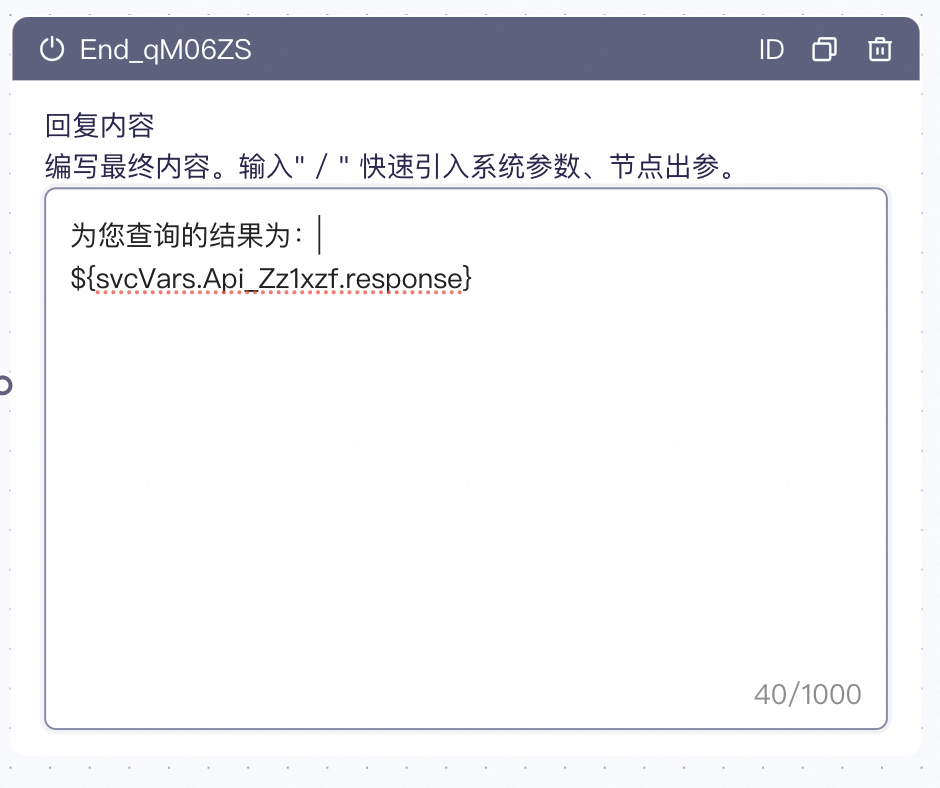
The following figure shows an example of declaring output parameters in the End node.
The content of the End node is a text output. You can use the End node to concatenate and process content from preceding nodes.
The execution result of a node is stored in a variable named svcVars. The data is stored using the structure svcVars.${node_id}.response.${xxx}.${yyy}, where xxx and yyy represent the specific result data structure.For example, to return the result from the large model, enter svcVars.LLM_DGc2XV.response.text in the output expression.
{
    "svcVars":{
        "LLM_DGc2XV":{
            "params":{
                "modelId":"qwen-plus-v1",
                "prompt":"You are a music player. Based on the following description, recommend a song suitable for this weather: ${data}"
            },
            "response":{
                "text":"Based on your description, a song suitable for this weather is Jay Chou's 'Sunny Day'. The song has a light and pleasant melody, and the lyrics are full of sunshine and energy, making it perfect for enjoying on a clear, warm day."
            }
        }
    }
}
3. Associate variables in different nodes
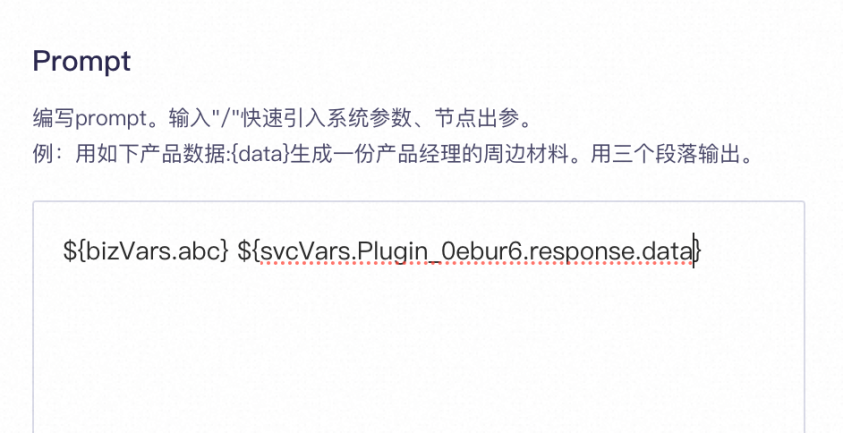
In different nodes, you can associate input parameters with the values of existing variables using Expression Language (EL) expressions. The associated values can come from two sources. You can reference the value of a variable declared in the input parameters using bizVars. You can also reference variables from the intermediate execution process of a node. For example, to reference a variable in a large model's prompt:
${bizVars.abc} references the input parameter abc.
${svcVars.Plugin_0ebur6.response.data} references the result data from the execution of the Plugin_0ebur6 node (an API node).
When the large model is called, the variables are replaced with their values. For more information about how to retrieve values, see Description of flow variables and how to retrieve their values.
Canvas operations
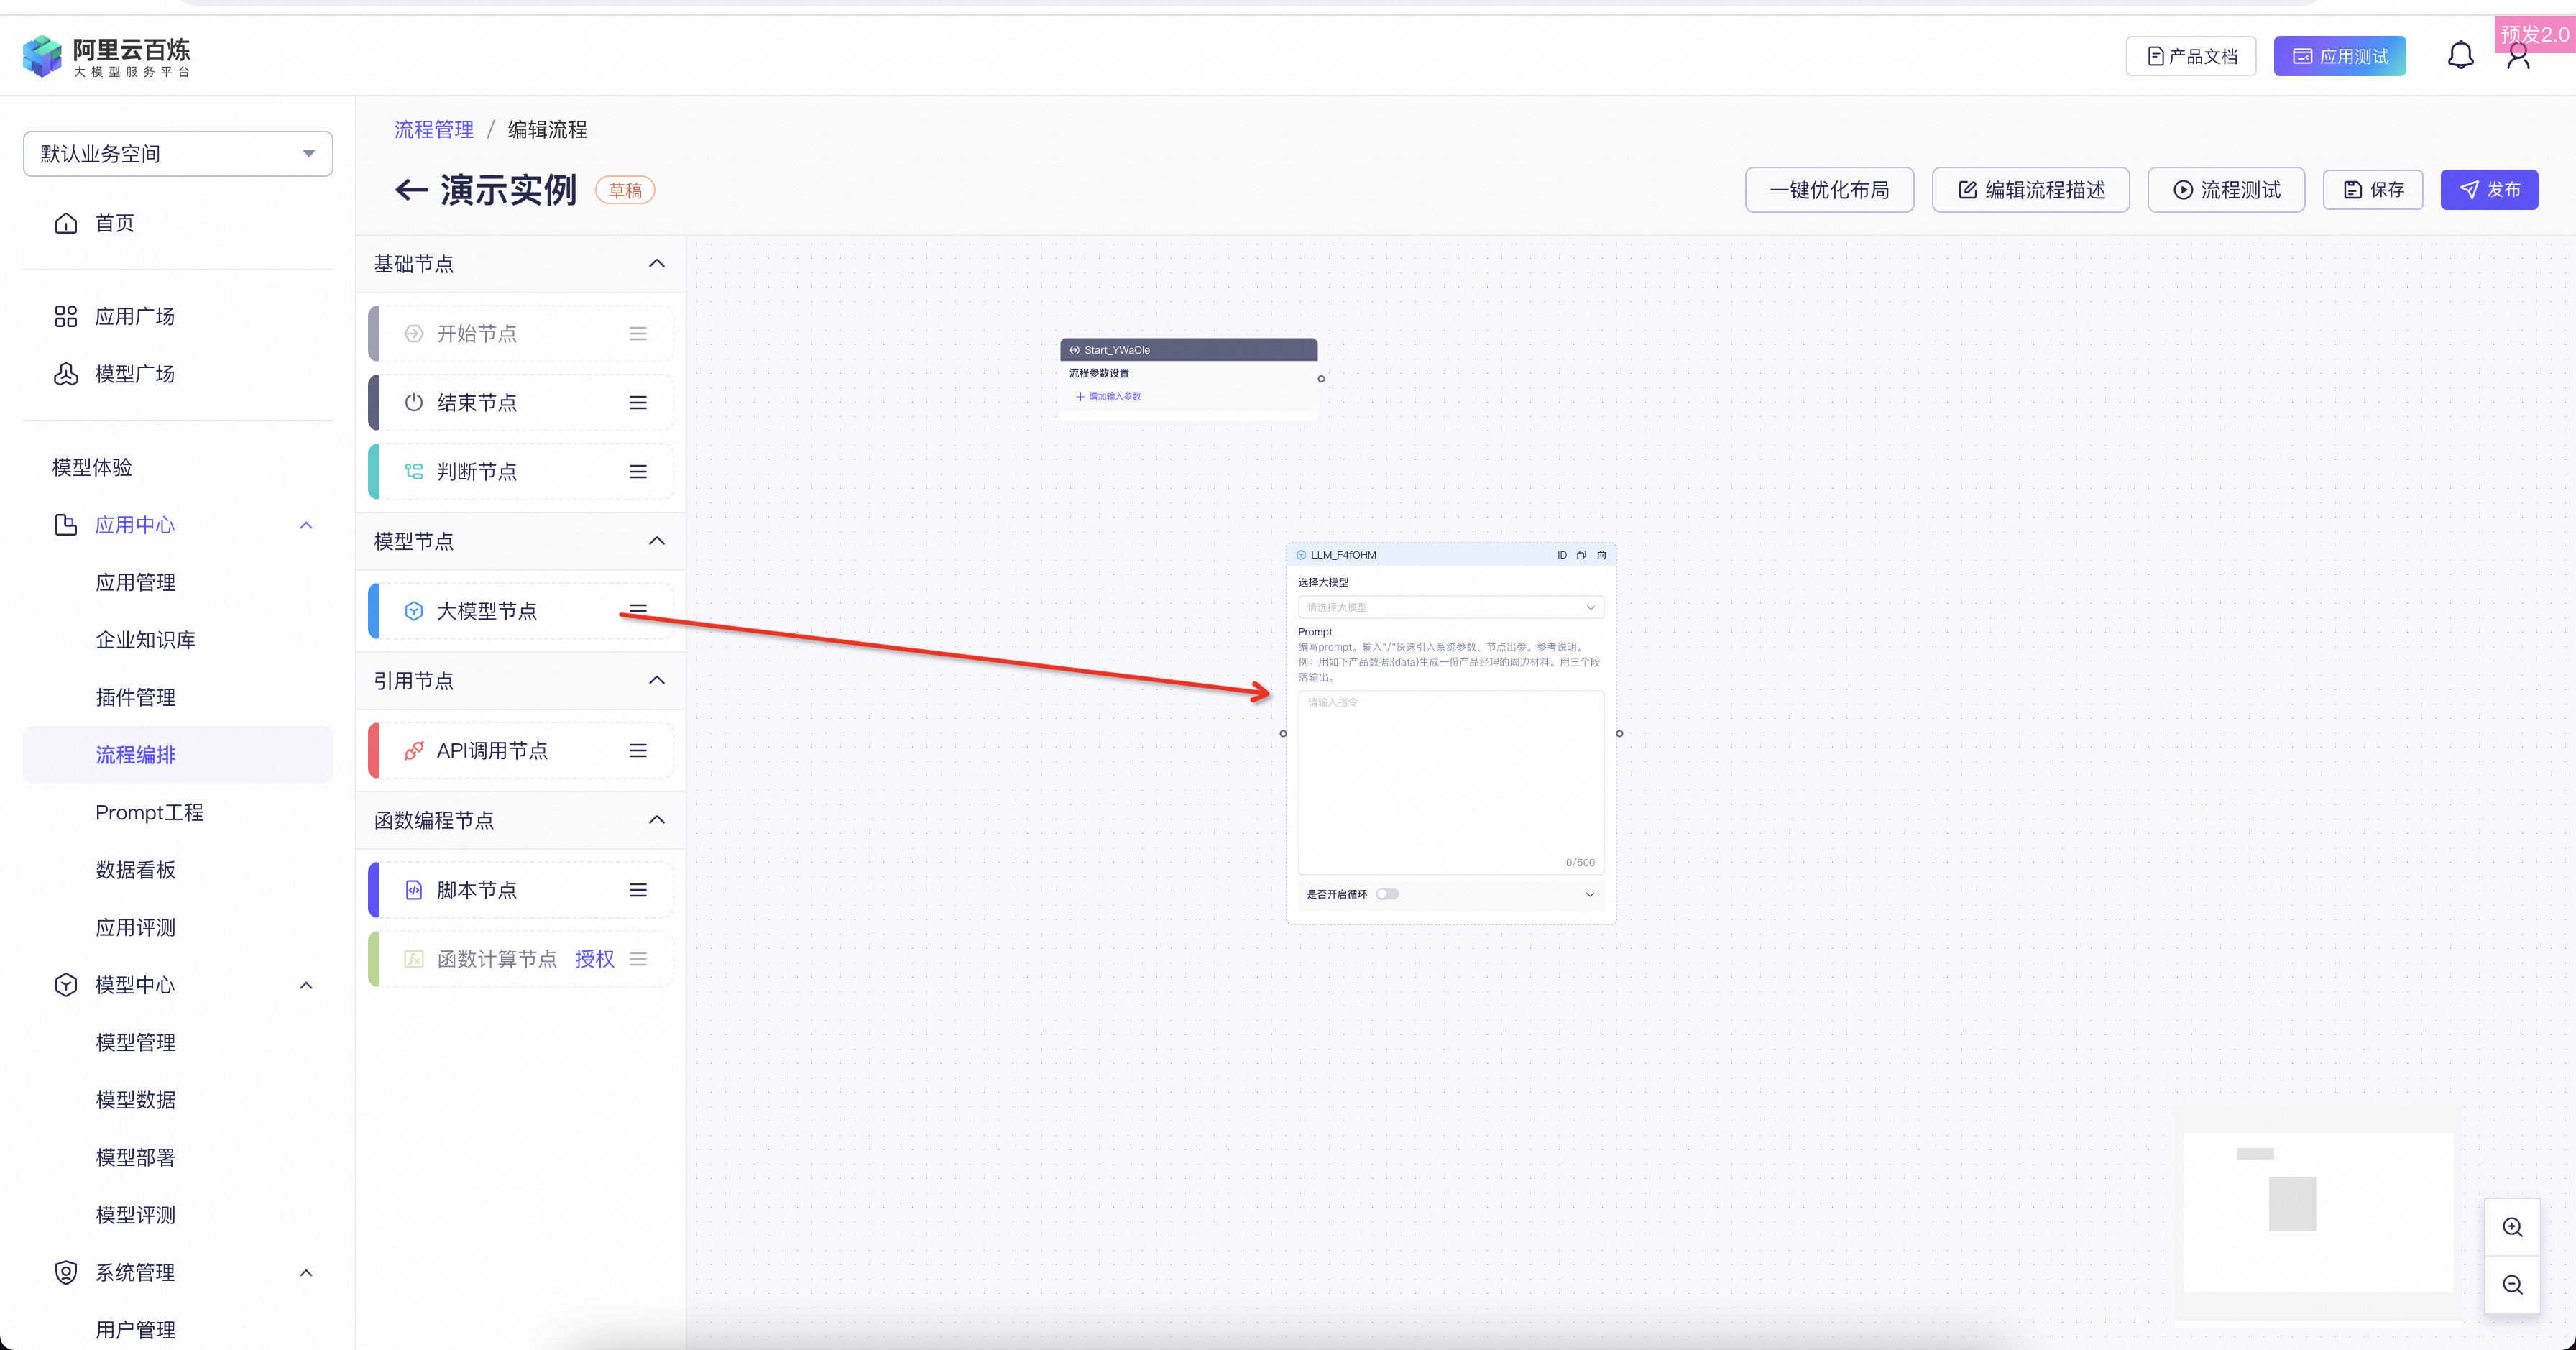
Add a node
Drag a node from the node list on the left to the canvas.
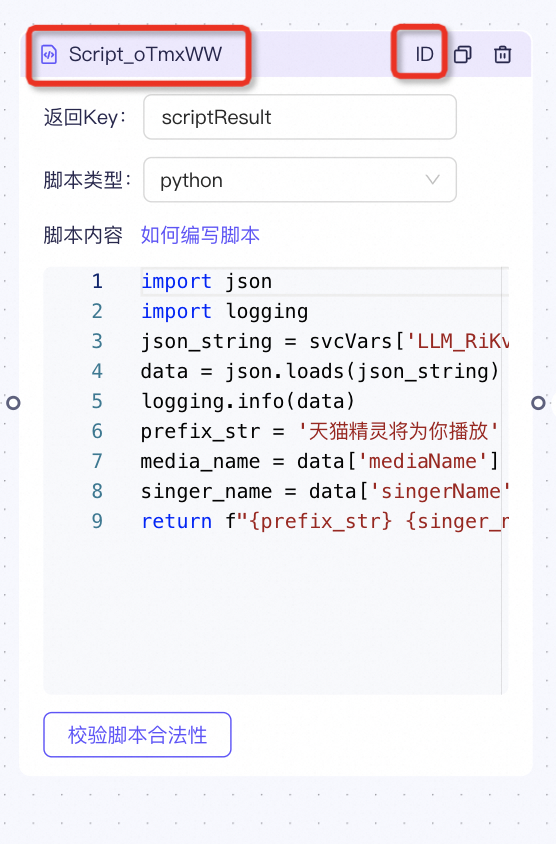
Copy a node ID
To retrieve the execution result from a preceding node, a subsequent node needs the ID of the preceding node to construct the expression. Therefore, the platform provides a function to copy the node ID. The node ID is also displayed in the upper-left corner.
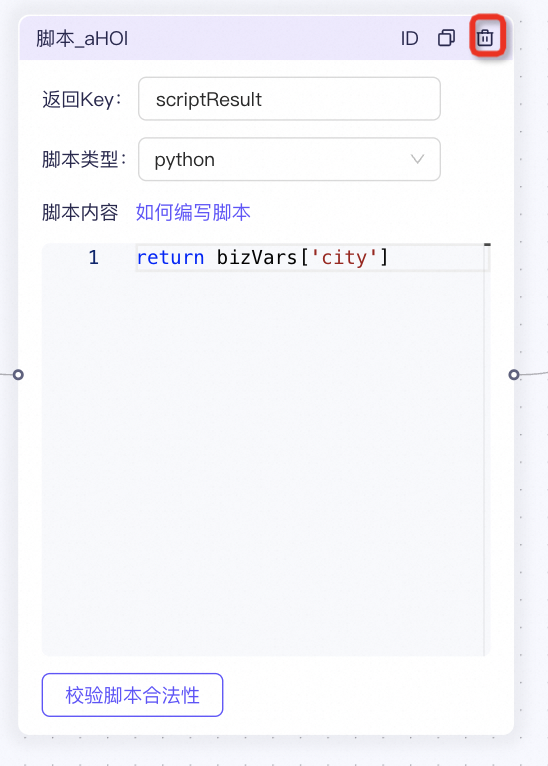
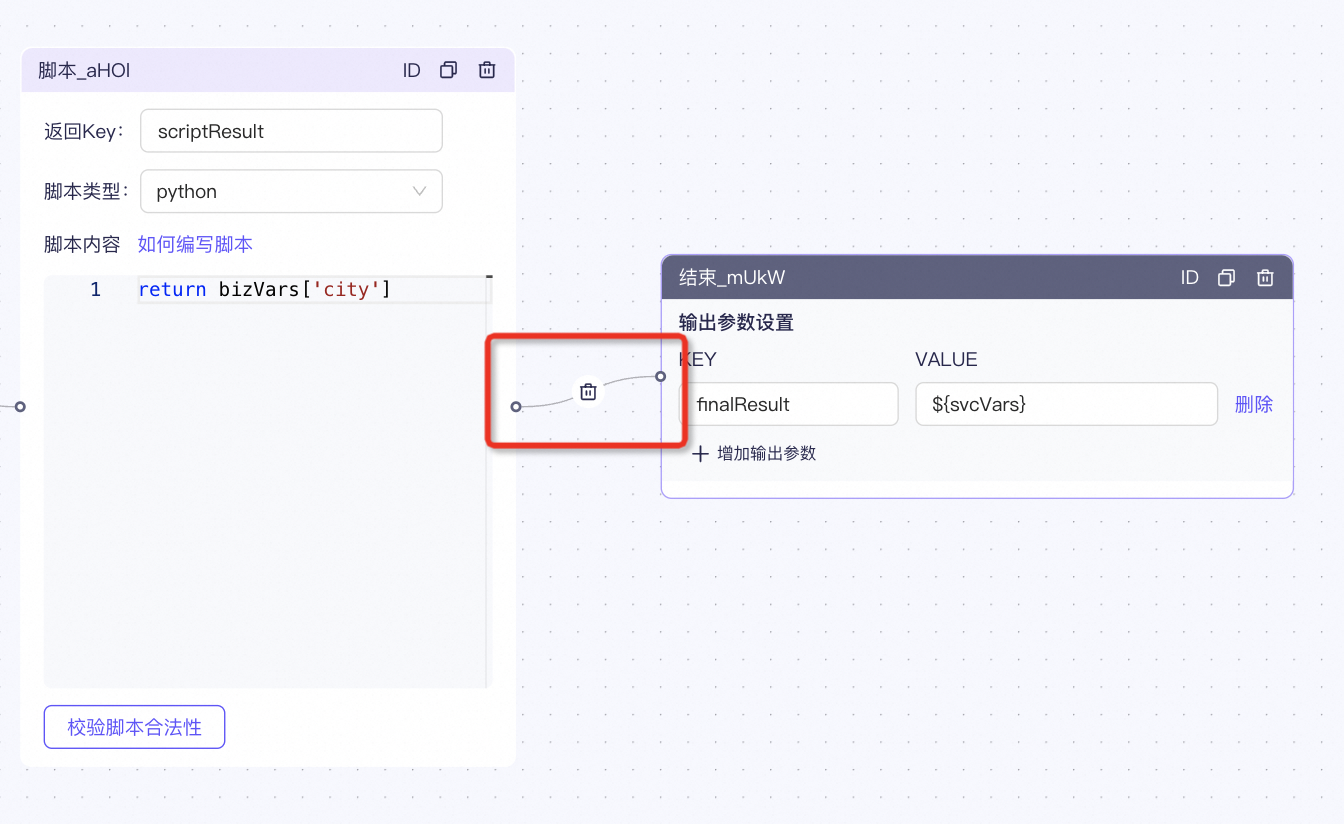
Delete a node
All nodes and connectors have a Delete button. Click it to delete the item.
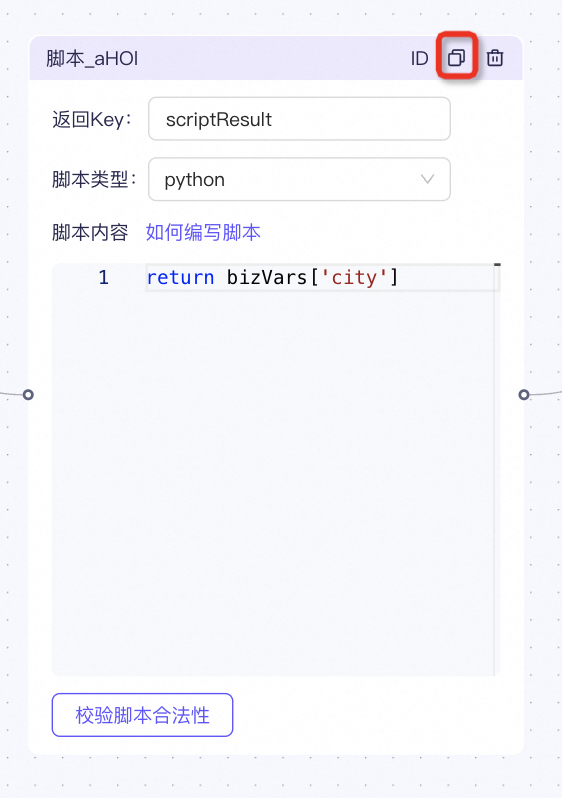
Copy a node
All nodes have a Copy button. Click it to create a copy of the node with the same content.
Connect nodes
Drag from an output point on one node to an input point on another to connect them.
One-click layout optimization
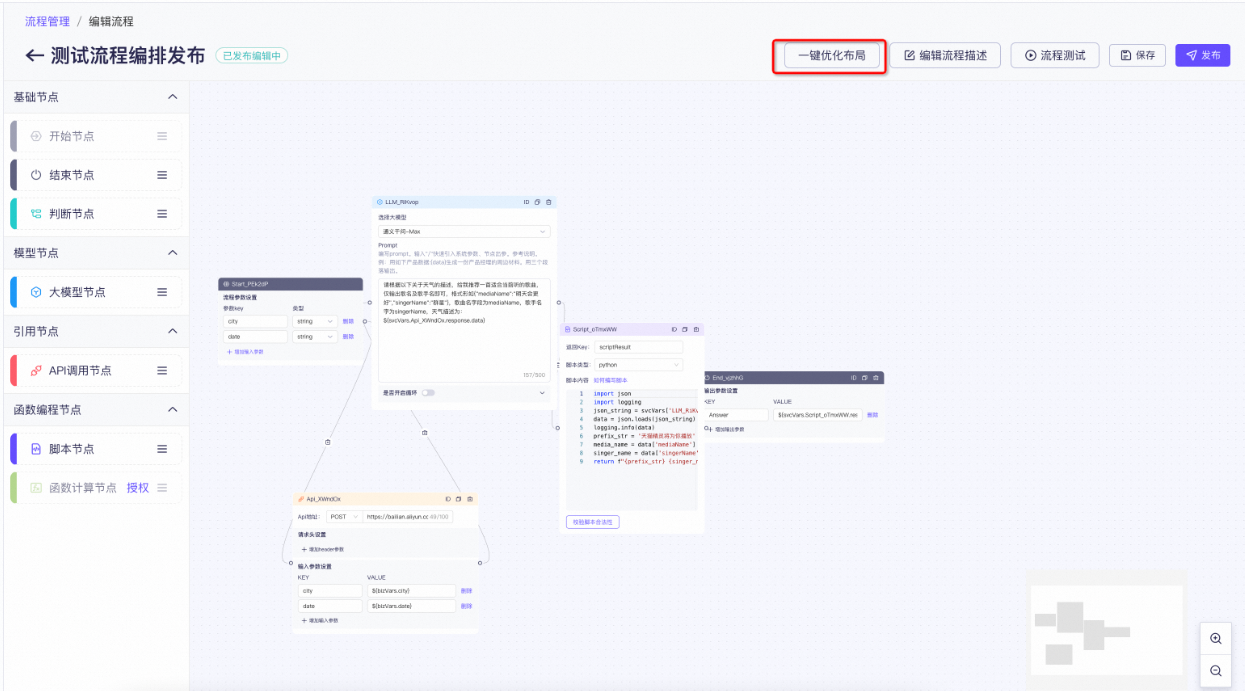
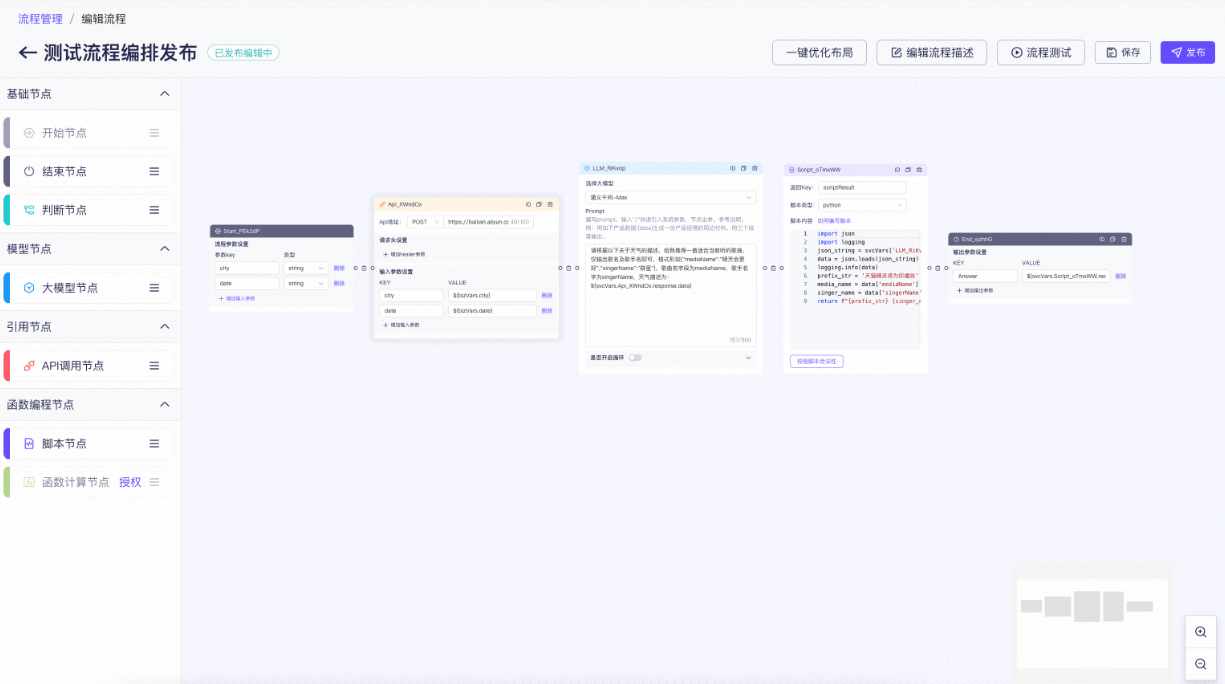
The one-click layout optimization feature rearranges a cluttered canvas, as shown in the following figure. Note: Before you optimize the layout, you must connect the nodes. Otherwise, unconnected nodes might overlap.
How to debug
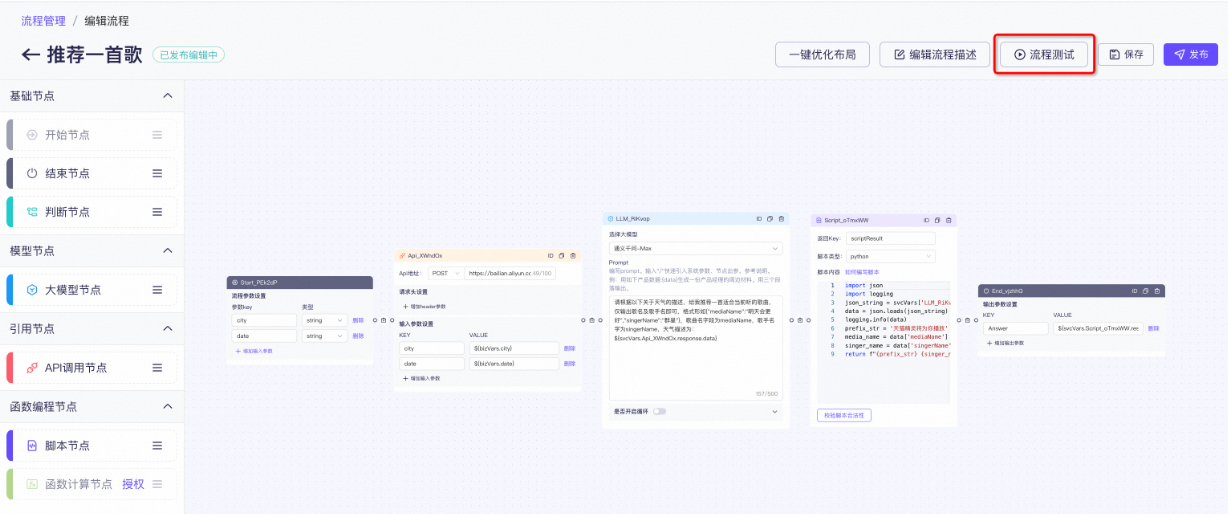
You can use the test feature to test the flow before you publish it. Changes made when you save or test the flow are saved as a draft and do not affect the published version.
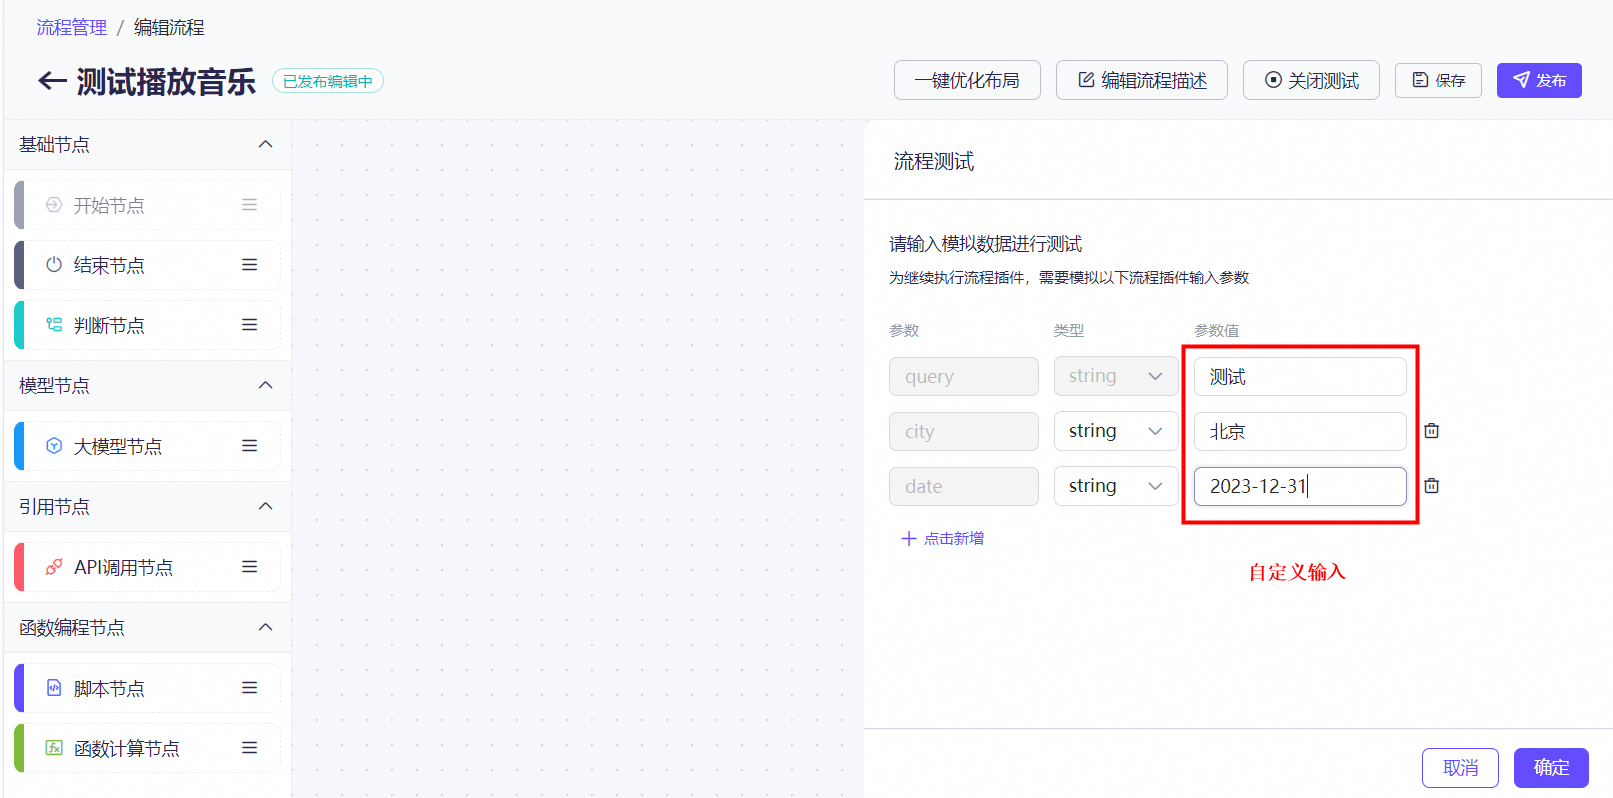
After you click Test Flow, enter the parameters as required.
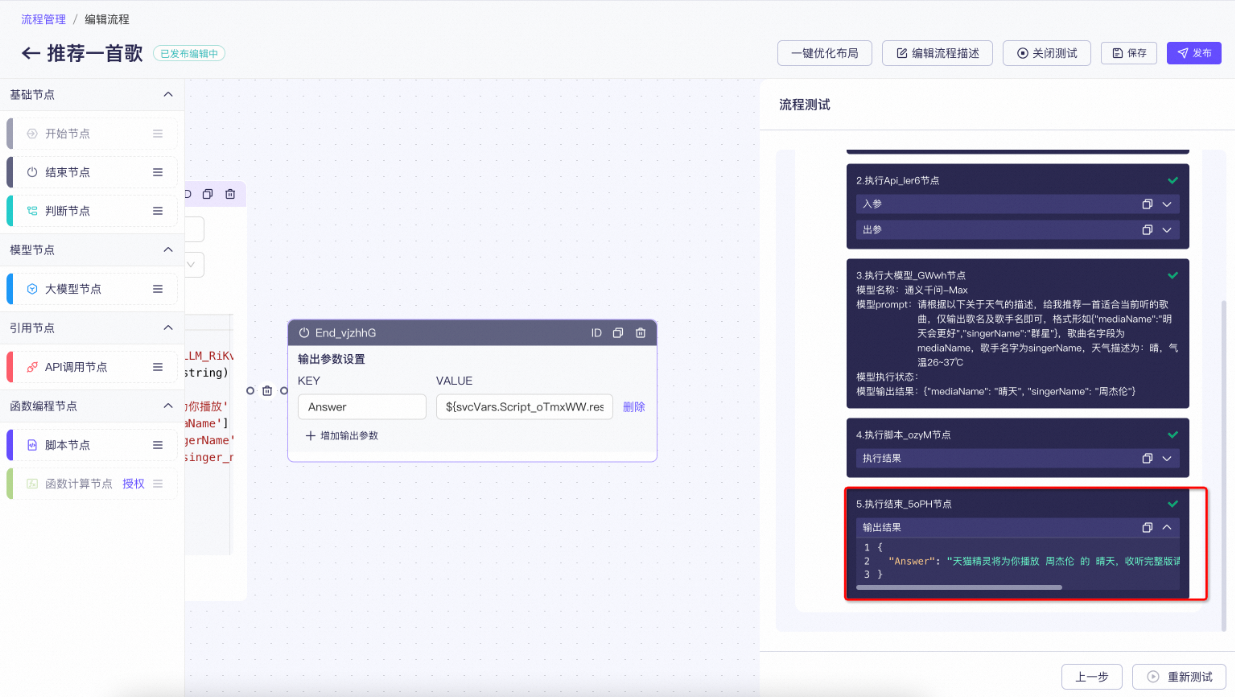
Click OK. On the left, the system highlights the nodes as they are executed. On the right, the execution result for each node is displayed. The final parameters are shown in the End node.
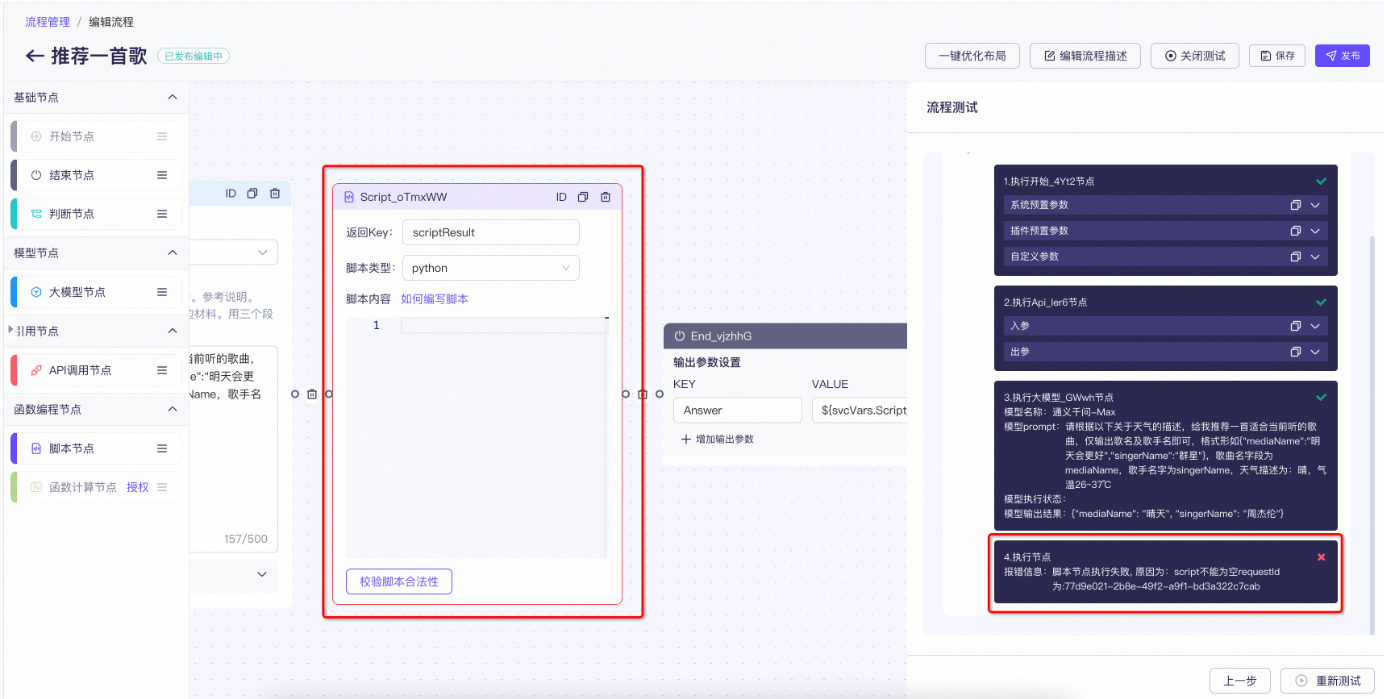
If an error occurs, the node that caused the error is highlighted in a red box on the left. An error message is displayed on the right to help you troubleshoot the issue.